AI Image Transformation Use Cases: Ecommerce, Social, and Creator Workflows
Four practical AI image transformation use cases, mapped by channel: ecommerce listing sets, social feeds, creator series, and campaign testing, with the input rules and acceptance test each one needs.

Most photo work does not begin with a blank canvas. It begins with a file you already own: a product shot that needs a different setting, a portrait that is one background away from being usable, a frame that performed well enough to deserve five more versions. That is the territory image to image tools were built for, and it is usually where a team gets its first real return from AI.
The mistake is treating all of those jobs as one task. A marketplace listing has a compliance floor. A social post has an attention ceiling. A creator series needs a recognizable world across dozens of frames. A campaign test only needs to answer a question cheaply. Same button, four different contracts, and the acceptance test you write before the first generation decides whether the tool saves you a shoot or just fills a folder.
What Changes When You Start From a Photo
An image to image AI tool takes your existing photo and modifies it, rather than inventing a scene from a written description. The original structure and composition stay in play; what changes is what you ask for. That is exactly why it fits real production work: a product photo already contains the correct product, and a portrait already contains the correct person.
Text to image AI is the opposite trade. It is the right instrument when nothing exists yet, and the wrong one when you need this exact object in this exact pose with a different world around it. Choosing between the two is the first decision in the workflow, and it usually comes down to a single question: does the thing that matters most already exist in pixels?
Two mechanics follow from that choice. The first is edit strength, which lets you move from a light repaint that preserves nearly everything to a heavier rebuild that gives the model more latitude. The second is the prompt, which in image to image behaves less like a description and more like an instruction: keep this, change that.
Ecommerce: One Photo Into a Channel-Ready Set
A single catalogue item can need a clean listing image, a white-background marketplace image, a lifestyle scene, a scale image, a close-up detail, and a campaign visual. Traditional photography still earns its keep for hero campaigns and complex products, but it is slow and expensive for everyday content. The current ecommerce tool landscape splits these jobs into distinct use cases, and image to image covers the gap between a full reshoot and a visual that has to be ready today.
The discipline is to change the context and keep the product. One approved product photo becomes a lifestyle scene, a seasonal scene, a mockup, or a channel-specific crop, while the item itself stays recognizably the same object. Batch work is where this compounds, because a single reference can produce variants for many listings without another studio booking.
Compliance is the part that catches teams out. Marketplaces do not grade on beauty; they grade on specifications. Amazon recommends at least six images and one video per listing, and Google Merchant Center has published a minimum of 500 by 500 pixels for product images, with 1500 by 1500 recommended for stronger performance. Backgrounds are stricter than they look: Amazon's pure white requirement is RGB 255,255,255, and generated backgrounds frequently sample in the 240 to 250 range, which can fail an automated check. Sample the corner of the file, not the centre of the composition.
Social: Volume Without Flooding the Feed
Social is the channel where image to image pays off fastest and where it is easiest to overdo. The honest framing from social teams is that AI makes content cheaper to produce, and cheaper content is not automatically better content. The teams that win with it use AI to speed up a workflow they already respect, not to multiply posts until the feed feels automated.
Where image to image genuinely earns its place is adaptation. One approved visual becomes a square feed crop, a vertical story frame, and a wide banner without a fresh generation for each format, which keeps the brand looking like one brand. Reformatting and resizing are exactly the kind of low-risk, repeatable work worth handing over completely; a sensitive reply to a customer, or a claim about a product, is not.
The restraint rule matters more than the volume rule. Protect the details that make an image feel personal, and resist transforming every part of the frame just because you can. A believable visual often looks less finished than the first version you wanted.
Creator Series: A Repeatable World, Not One Good Frame
Creators run into the same wall from a different direction: a series needs consistency, and a single striking frame does not give you one. Reference-driven transformation is strongest here. Once a look is fixed, with the same subject, the same light, and the same framing language, every later frame inherits it instead of restarting the search.
The caution is the one-button myth that has hardened around AI imagery. Polished demo output is usually made by people with production backgrounds who spent hours on it. Tools of this class need direction the same way an editing suite does; without a clear idea of the story, the brand, and the outcome, they produce nothing usable. The images are cheap, but the decisions are not free.
A practical structure for a series is therefore a short list of constants written down once: subject description, lighting direction, background family, camera angle, and colour treatment. Each new frame is a variation against that list rather than a fresh roll of the dice. Consistency becomes a discipline problem instead of a technical one.
Campaign Testing: Prove the Direction Before You Produce It
Advertising is a test, so the cheapest useful output is a set of directions you can compare quickly. Image to image fits this stage because the product reference never changes; only the treatment around it does. Ten interpretations of one campaign idea cost a fraction of one shoot, and you reject nine of them on your own screen.
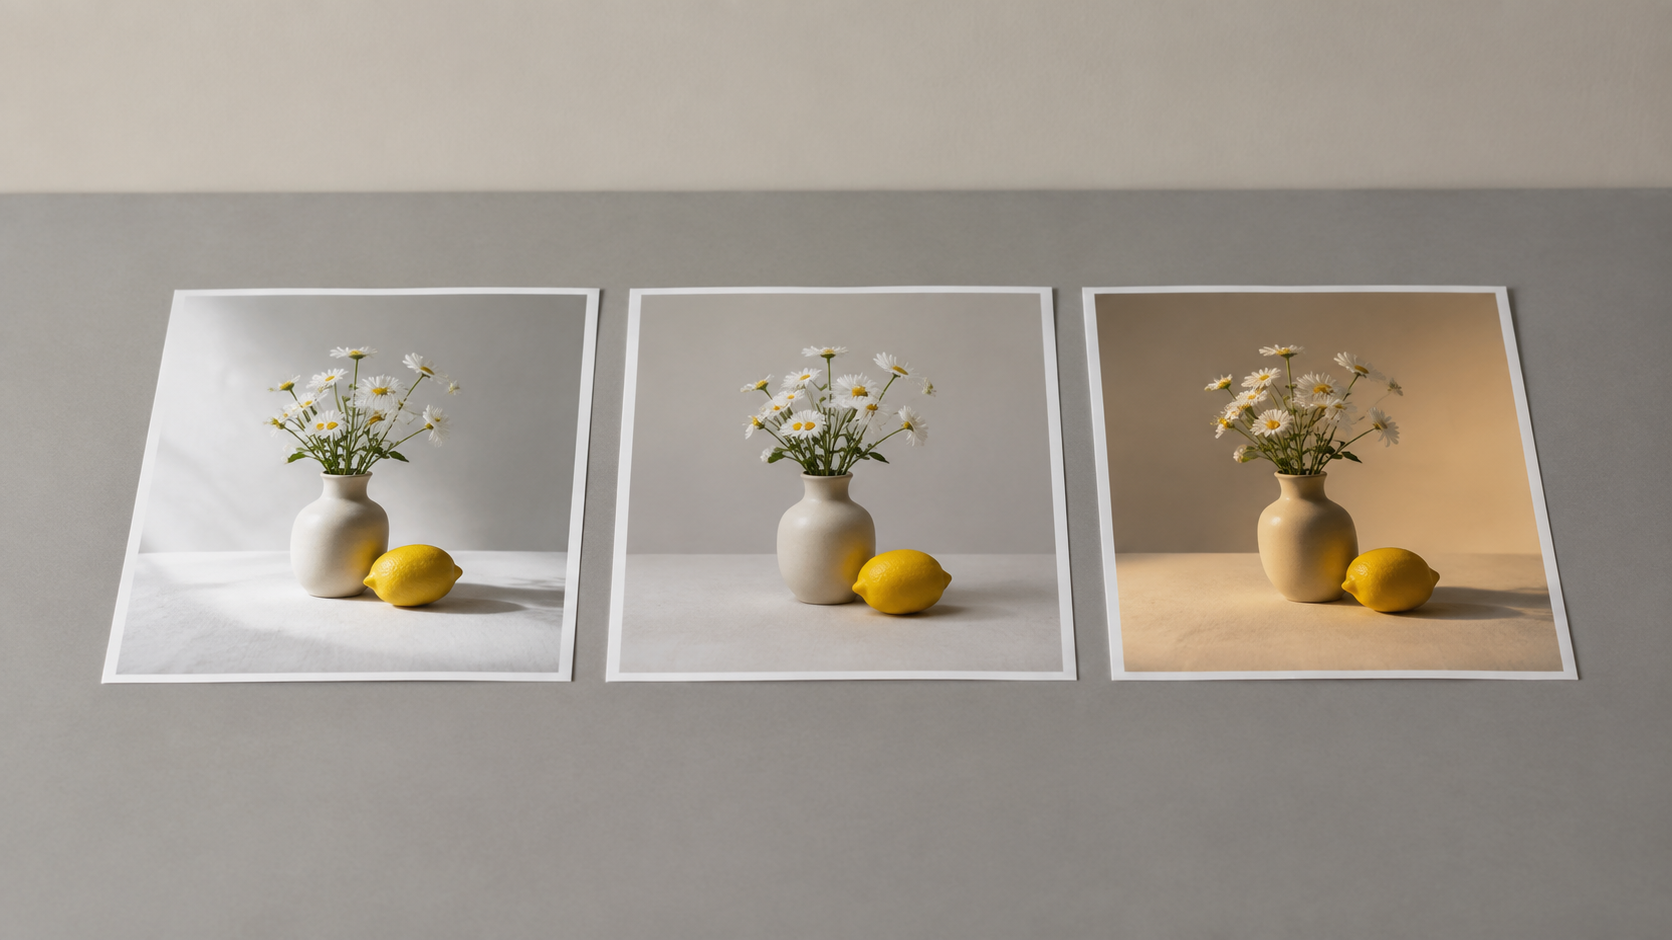
The workflow that holds up separates two stages that teams often blur. First, breadth: generate several genuinely different directions, such as a studio treatment, a lifestyle scene, and a bolder graphic look, then shortlist two or three as a contact sheet rather than as finished assets. Then, production: lock the shortlisted look and keep it stable across the rest of the set, so later assets read as variations of one decision instead of unrelated attempts.
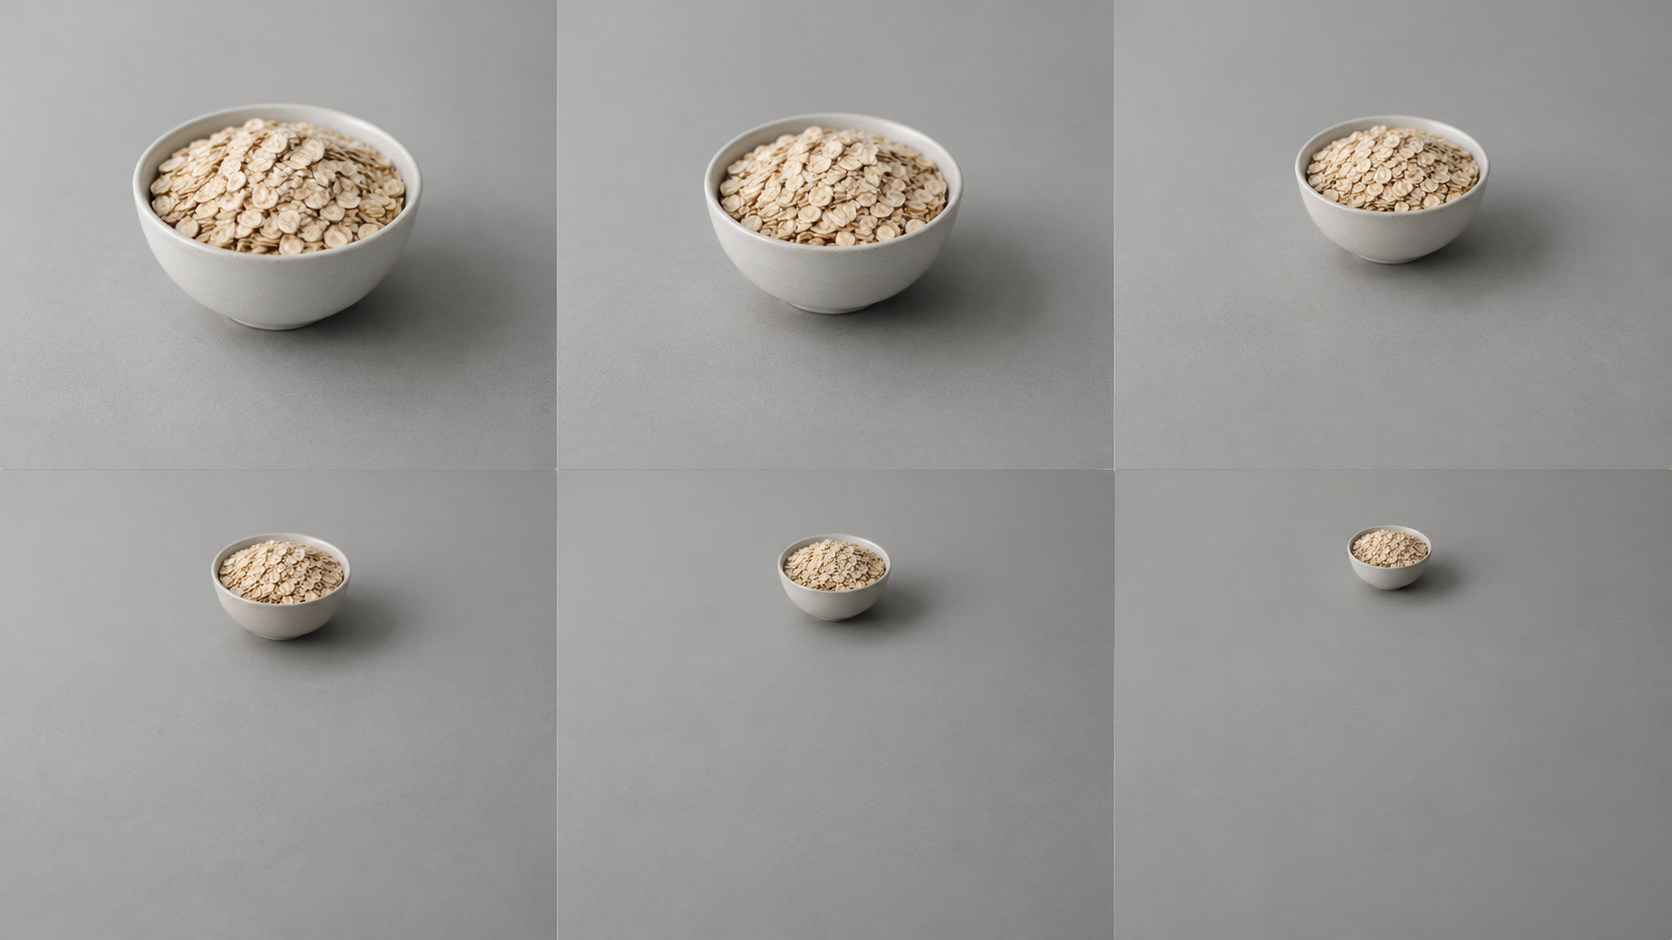
The same separation solves format work. Once a master image is approved, adapting it to a new aspect ratio can either regenerate the composition or extend the canvas outward and keep the approved pixels intact. The second option is the safer default when a stakeholder has already signed off on what the frame looks like.
The Input Rules That Decide the Outcome
Almost every disappointing result traces back to the input, not the prompt. A blurry or badly lit reference produces a blurry or badly lit output, because the model amplifies what it is given. Start with the sharpest, most evenly lit version of the source you have, and treat that choice as part of the brief rather than as an errand before it.
Then write the prompt as three parts: the subject, the environment, and the lighting. Keep the subject specific about material, colour, and shape, and keep the scene simple, because busy backgrounds compete with the thing you actually need to show. Then set how far the model may travel. A light transformation that preserves structure is the right choice for background swaps and context changes; a heavier one is better when you are deliberately changing the mood of the frame.
The practical loop is to generate several options per prompt before judging any of them, and to change one variable at a time. Scoring candidates on product accuracy, brand fit, and channel usefulness keeps the review objective instead of taste-based, and it makes a second reviewer's answer predictable rather than a matter of preference.
Where Transformation Must Stop
Not every image should be transformed, and knowing the boundary is a skill. Review every generated asset against the original before it goes anywhere: shape, colour, material, scale, packaging, labels, and small components all have to survive the edit. When the exact detail is not reliable, keep the original photo.
Text is the sharpest edge of this limit. Models guess at lettering rather than reading it, so small text becomes illegible, logos drift into something logo-like but not yours, and fine markings such as embossing or certification labels are often wrong. For products where label accuracy is a legal or brand requirement, the reliable pattern is to generate the scene and composite the real product on top. Reflective surfaces such as glass, watches, and polished metal sit in the same difficult category and need more scrutiny than soft goods do.
There is also a disclosure question. An image that is adapted but plausible reads as a photograph to most viewers, so anything that could be mistaken for a record of something real, whether a person, an event, or a product attribute, needs a caption, a label, or a decision to leave it out of the set.
A Pre-Publish Checklist
Write the acceptance test before you generate: what has to stay exact, what is allowed to change, and where the image will run. Choose your source photo accordingly, and check that it is sharp, evenly lit, and free of clutter around the subject. Generate several options, keep one variable per pass, and shortlist directions before polishing any of them. Review the shortlist against the original product at both thumbnail size and full zoom. Confirm the file meets the destination's technical rules, and confirm that you have the right to use every input. Then label the result honestly.
That order is the difference between a faster production process and a faster way to publish mistakes. If you want to run it on a real file, the image to image tool on this site takes a photo, an instruction, and a strength setting, and returns a result in seconds, which is a short enough loop to test the whole checklist on one asset before you commit a campaign to it.