AI Photo Restoration: Scan First, Then Repair in Passes
A practical order for restoring old family photos with AI: get a restoration-grade scan first, run one repair pass at a time, and check every face against the original.
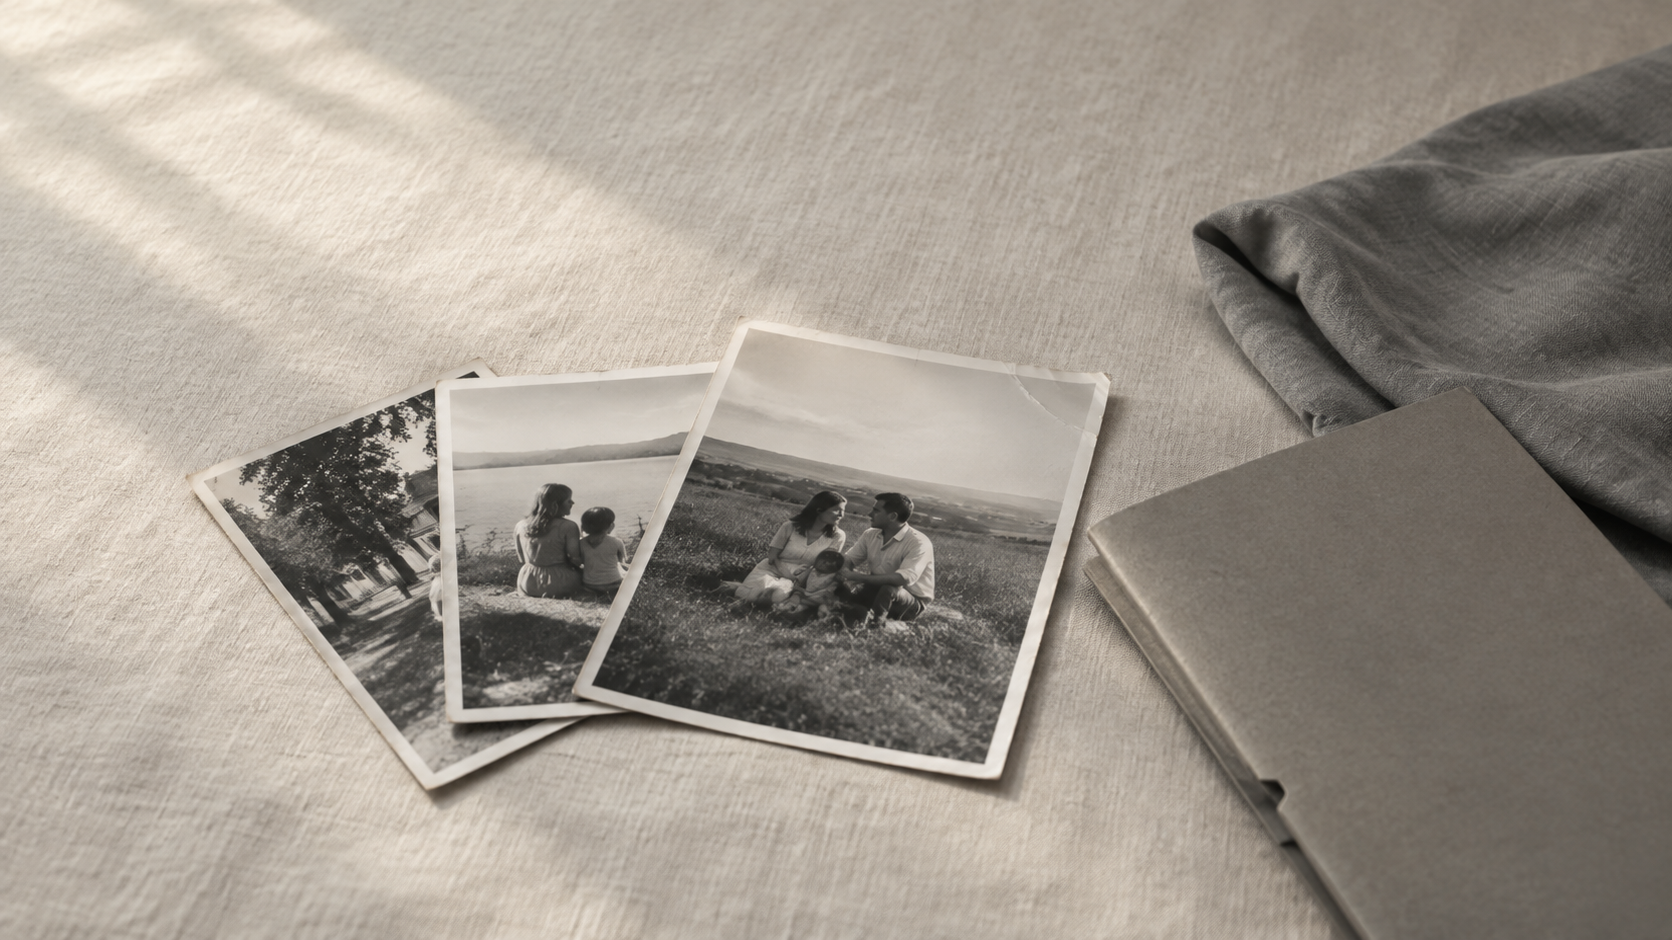
A shoebox of family prints is not a backup. It is usually the only copy, and it fades a little more every year it sits in the dark. AI photo restoration has made repairing those prints realistic for people who are not retouchers, but the model sits in the middle of the job rather than at the start of it. What comes out depends on the scan you put in, and on the check you run before you send the file to anyone.
The professional framing of that limit is worth reading once. Forever Studios describes it this way: AI restoration repairs fading, color shift, light scratches, dust, and low contrast when there is still good image data left in the photograph, and it cannot restore missing information. That sentence sets the whole workflow. Your job is to hand the model as much surviving image data as the print can give, then to notice the places where it invented something instead of recovering something.
This is a working order for restoring old family photos, from choosing and scanning the print to comparing the restored face against the original. It is deliberately the reverse order of a prompt list: scan first, repair second, compare third.
Why the Scan Sets the Ceiling
Resolution is where most home projects quietly lose the detail they were hoping to recover. A 300 DPI scan captures 300 pixels across every inch of the original; as ScanSouth explains, a 600 DPI scan captures twice as much information in each direction, nearly four times the total image data. That extra data is the raw material a repair pass works with, which is why a photo you intend to restore should be scanned above the minimum.
It also helps to keep the vocabulary straight. The Picture Org(anizer) points out that a file on a hard drive has no DPI at all: ink dots only exist on paper, and DPI describes what a printer sprays onto a sheet. Scanning and screen viewing are measured in pixels per inch.
There is a hard limit worth stating plainly. ScanSouth puts it best: a scanner cannot create detail that never existed. Scanning a soft, out-of-focus print at 1200 DPI gives you a very large file of a soft, out-of-focus print. Resolution is not restoration; it only preserves what is already there well enough for a repair pass to reason about.
Step 1: Scan for Restoration, Not for Viewing
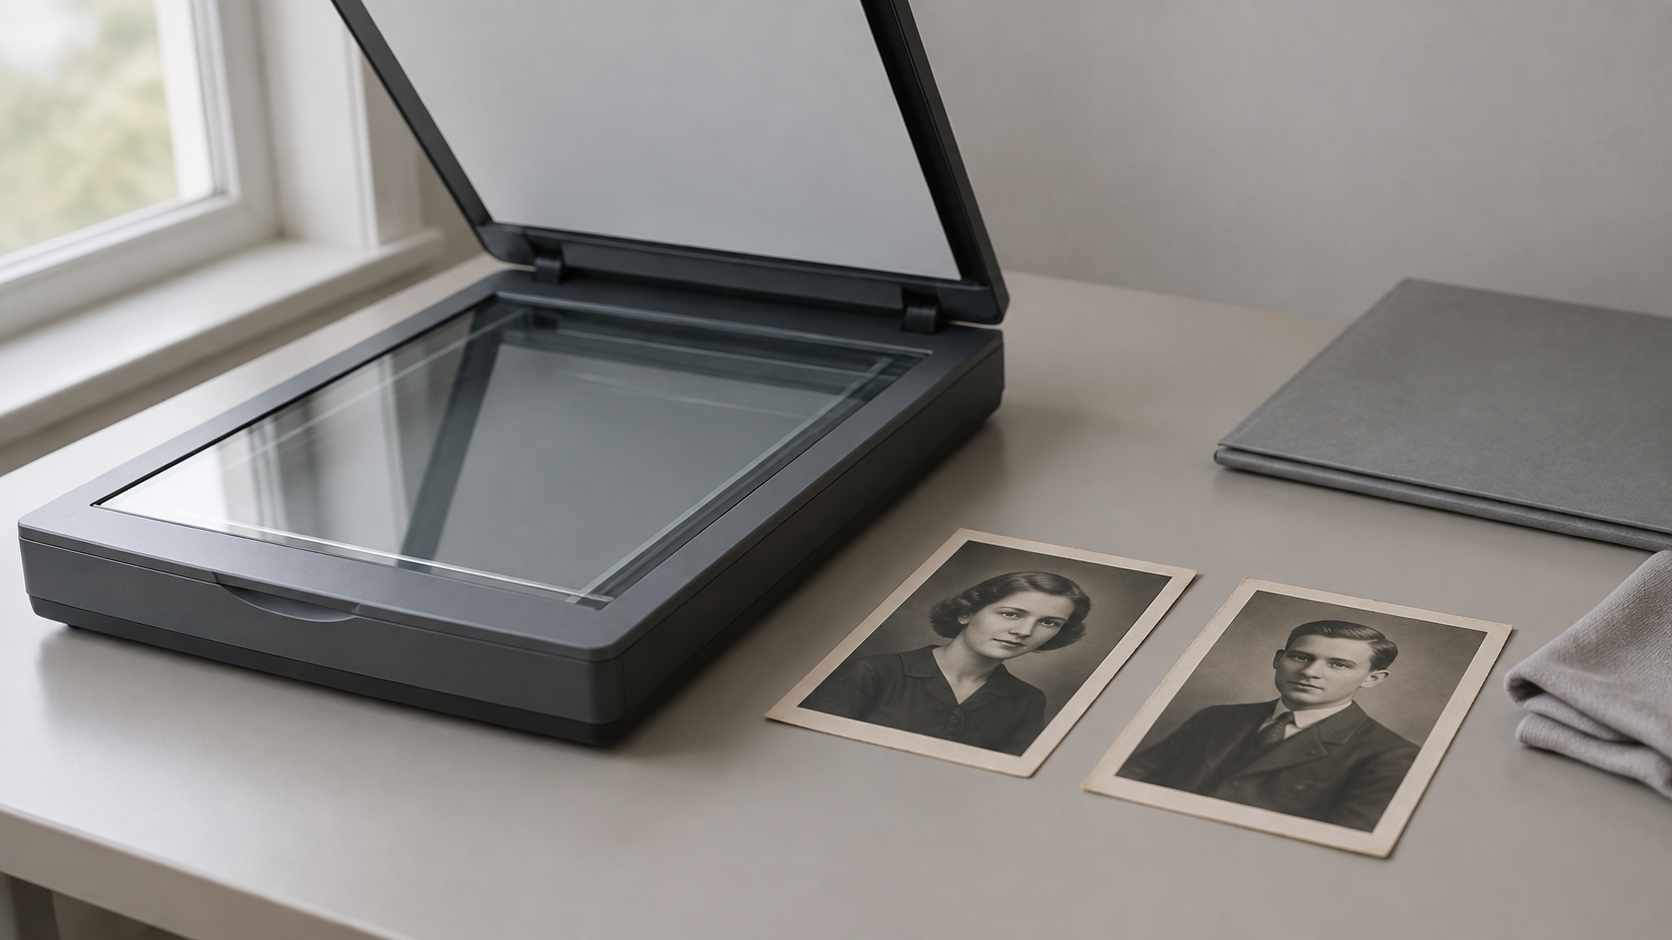
The right scan setting depends on what you plan to do with the file, not on what sounds most professional. For standard 4 by 6 inch prints that you mainly want to view, share, or store, 300 DPI is usually enough. For prints you may crop, enlarge, or restore, AWV Production recommends 600 DPI, and it makes a point that catches people out: choose color scanning even for black-and-white or sepia prints, because a color scan preserves the subtle warm tones and paper character of the original. You can always make a black-and-white version later, but color information that was never captured cannot be recovered afterwards.
Handle the print like the irreplaceable object it is. Clean the scanner glass before a session, because dust becomes surprisingly visible in a high-resolution scan, and lift each photo by its edges. Set aside anything with mold, water damage, or severe cracking instead of forcing it flat: flattening a brittle print, or separating two photos that have fused, can cause permanent harm. Sheet-fed scanners are the wrong tool for a one-of-a-kind print, because a jam or misfeed can damage an original in seconds.
One more decision belongs to this step rather than to the editing step: do not crop away the handwritten notes, print edges, or date stamps before the scan is saved. Those marks are identification evidence, and a caption on the back of a print is often the only record of who is in the frame.
Step 2: Save an Untouched Master Before Any Edit
Before you open a restoration tool, make a master file and treat it as the source of truth. AWV Production's guidance is to save the master as a TIFF where possible and keep a JPEG copy for sharing, because JPEG compression discards image data, especially after repeated edits and saves. Every later version is rebuilt from the master.
Name files so that future family can find them without you. A name like "Grandma Lena portrait approx 1940s" will still make sense in twenty years; scan001 will not. If you do not know an exact date, an estimated decade beats a number with no context.
Then store at least two copies in separate locations, and check them once or twice a year. A scan you cannot open is not preservation, it is a story about preservation.
The rule underneath all of this is simple: the restored file is a derivative, never the master. Keep the untouched scan as the record of what the photograph actually contains.
Step 3: Run Repair in Separate Passes
Modern restoration is not one operation. PhotoScanner's overview of how current image models work splits the job into three model families: inpainting models that fill damaged areas such as scratches, tears, and stains; face restoration models that rebuild blurred facial detail while preserving likeness; and super-resolution models that upscale a low-resolution scan instead of simply enlarging it. Knowing which family you are asking is the difference between a repair and a redraw.
That leads to a practical order:
- Dust, scratches, and stains first, as a dedicated removal pass over the marks you can point at. These are the easiest problems to fix and the easiest to verify.
- Faded tone and color recovery next, with a light hand, so the print regains contrast without acquiring a synthetic glow.
- Upscaling after the damage is gone, when you know what print size the restored file has to serve.
- Colorization last, and only as a deliberate choice.
One problem per pass. If a scratch fill leaves a seam, you know exactly which pass to redo; if you asked for six corrections at once and something looks slightly wrong, you have to start over and compare nothing against nothing.
A warning from the older generation of tools still applies. PhotoScanner notes that early rule-based enhancement filters could push a photo into a waxy, plastic look because they had no understanding of what was in the image. Automatic enhancement repeated across several passes does the same thing, so each pass should make the smallest change that removes the defect.
Step 4: Colorize Last, and Say That You Did
Color is the most speculative part of restoration, and the one most likely to be mistaken for fact. Recovering faded tone in a color print restores something that is genuinely there. Adding color to a black-and-white photograph is inference: the model proposes plausible skin, fabric, and foliage tones from what such scenes usually look like. It can be convincing, and it is still a guess.
If nobody alive knows the true colors, label the file that way when you share it, so the next generation does not inherit an invented wedding dress color as family fact.
Step 5: Check Every Face Against the Original
Restoration is finished when you have compared the result to the original at the same zoom, side by side, not when the thumbnail looks lovely. AWV Production warns that automatic enhancement tools may brighten a dark image but can also erase subtle facial details, alter skin tones, or make an older photo look unnaturally modern. Those are exactly the changes that make a portrait feel like a different person.
Work through the details that make someone recognizable: the shape of the eyes and the line of the mouth, the hairline, a familiar piece of jewelry, a uniform badge or an insignia. If a feature has drifted, the pass that caused it needs redoing rather than blending.
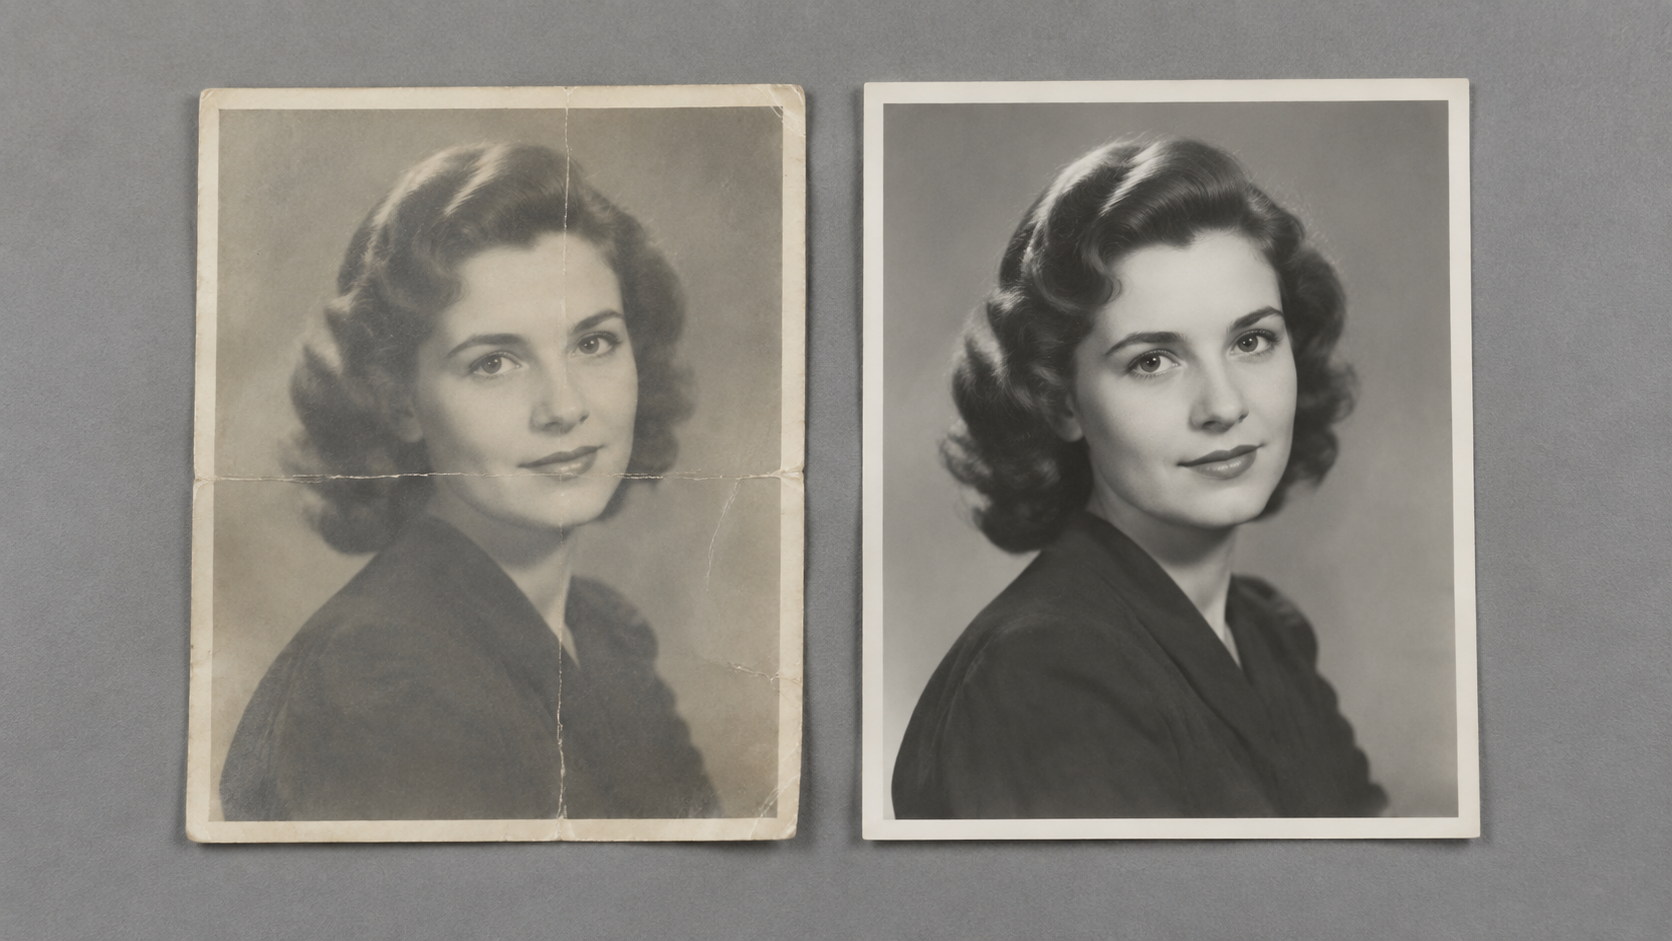
The clearest reason to be careful comes from Forever Studios, whose restorers describe clients arriving after running AI tools on their own photos: surface damage responds well to AI treatment, but genuinely lost image information gets replaced with plausible fabrications instead of actual recovery, a result that looks realistic but is not true to the original. They call it alternative history, and for a family photograph it is the failure mode that matters.
Know Where AI Restoration Should Stop
If a photo has lost a large area, a chemical stain across a face, or a destroyed eye, the model has nothing to reason from and will produce something that looks real. That is acceptable for a decorative composite and unacceptable for the record of what a person looked like.
When the detail is genuinely gone, there are three honest options, and none of them is "ask the model harder": keep the damaged original as the archival record and share the restoration as an interpretation; publish the restored version with a note about which parts were invented; or hand irreplaceable portraits, a single surviving wedding photograph, or a military portrait to a conservator who can tell the difference between hidden data and destroyed data.
Repairing dust, fading, and light scratches is restoration. Inventing the content of a face is something else, and the two should never be presented as the same thing.
A Short Checklist Before You Share the File
- The untouched master scan exists, and two copies live in separate locations.
- The physical print still exists, or you know which relative holds it. Do not discard the original after restoration.
- Each repair pass had one intent, and you can say what that pass changed.
- The restored faces match the original in proportion, expression, and recognizable detail.
- Everything the model inferred, including color, is disclosed wherever the restored file is used.
- Original and restored versions are named and stored so that future family can tell which is which.
Where to Start
Start with a single print that has light damage rather than the most damaged photograph you own, because the first run teaches you what your scanner and your tooling can actually do. Scan it at 600 DPI in color, save the TIFF master, then run one repair pass and compare the two files at the same zoom before doing anything else.
If you want to run the passes yourself, an old photo restoration pass handles the damage on the print, an object remover is a precise way to take out isolated dust marks and stains, an image enhancer lifts the faded tone without repainting the scene, and an image upscaler handles print size once the damage is gone. Working in that order, one decision per pass and one comparison at the end, is slower to describe than it is to do, and it is the difference between a photograph your family recognizes and a photograph that only looks like them.