AI Product Photo Cleanup: A Marketplace-Ready Workflow
A five-step order for cleaning up product photos with AI: clear distractions, rebuild the background, expand the frame, then inspect the result before publishing.

Most product photos do not fail because the lighting was wrong or the camera was cheap. They fail because something in the frame is telling the wrong story: a charging cable curling past the label, the reflection of a phone screen on a glossy surface, a wall socket directly behind the bottle, three different background colors across a single listing page.
The instinct is to fix all of it in one long prompt. In practice, the edits that survive a zoom-in are the ones done in sequence, one problem at a time, each pass checked before the next one starts. Generative fill is genuinely good at this, but it works best when it is asked to solve one problem at a time: as Shotkit describes it, it analyses the image and creates entirely new content that matches the lighting, perspective, colors and overall look of the scene, which is a very different behaviour from older retouching tools that only reused nearby pixels.
This is a working order for cleaning up product images with AI, plus the checks that keep the result honest.
Why One Big Prompt Usually Fails
A single prompt that asks for a new background, a removed prop, a warmer mood and a squared-up frame forces the model to guess which details are load-bearing. It may redraw the label while it repaints the wall behind it. It may soften the edge of the product to blend it into a new surface.
Smaller passes are also easier to verify. If you remove one object and the seam looks wrong, you know exactly which pass to redo. If you changed six things at once and the result looks slightly off, you have to start over.
The practical rule: one intent per pass, and confirm each pass before starting the next.
Step 1: Start From a Source Photo That Has Real Detail
The cleanup stage is a correction stage, not a rescue stage. As Gradepixel puts it, AI product photography produces images with variable accuracy depending on the specific application and the quality of the source material. Generated detail is plausible detail, not recovered detail, so the quality of the original frame sets the ceiling for everything that follows.
Shoot or select a source image where the product is sharp, evenly exposed, and large in the frame. Keep the untouched original file. Every later step should be reproducible from that original, not from a chain of edits you can no longer unwind.
If the only photo you have is dark, blurry, or shot at an angle that hides the product, fix the capture or reshoot before spending time on cleanup. No amount of fill will invent the stitching pattern on a bag that was never in focus.
Step 2: Clear the Distractions Before Touching the Background
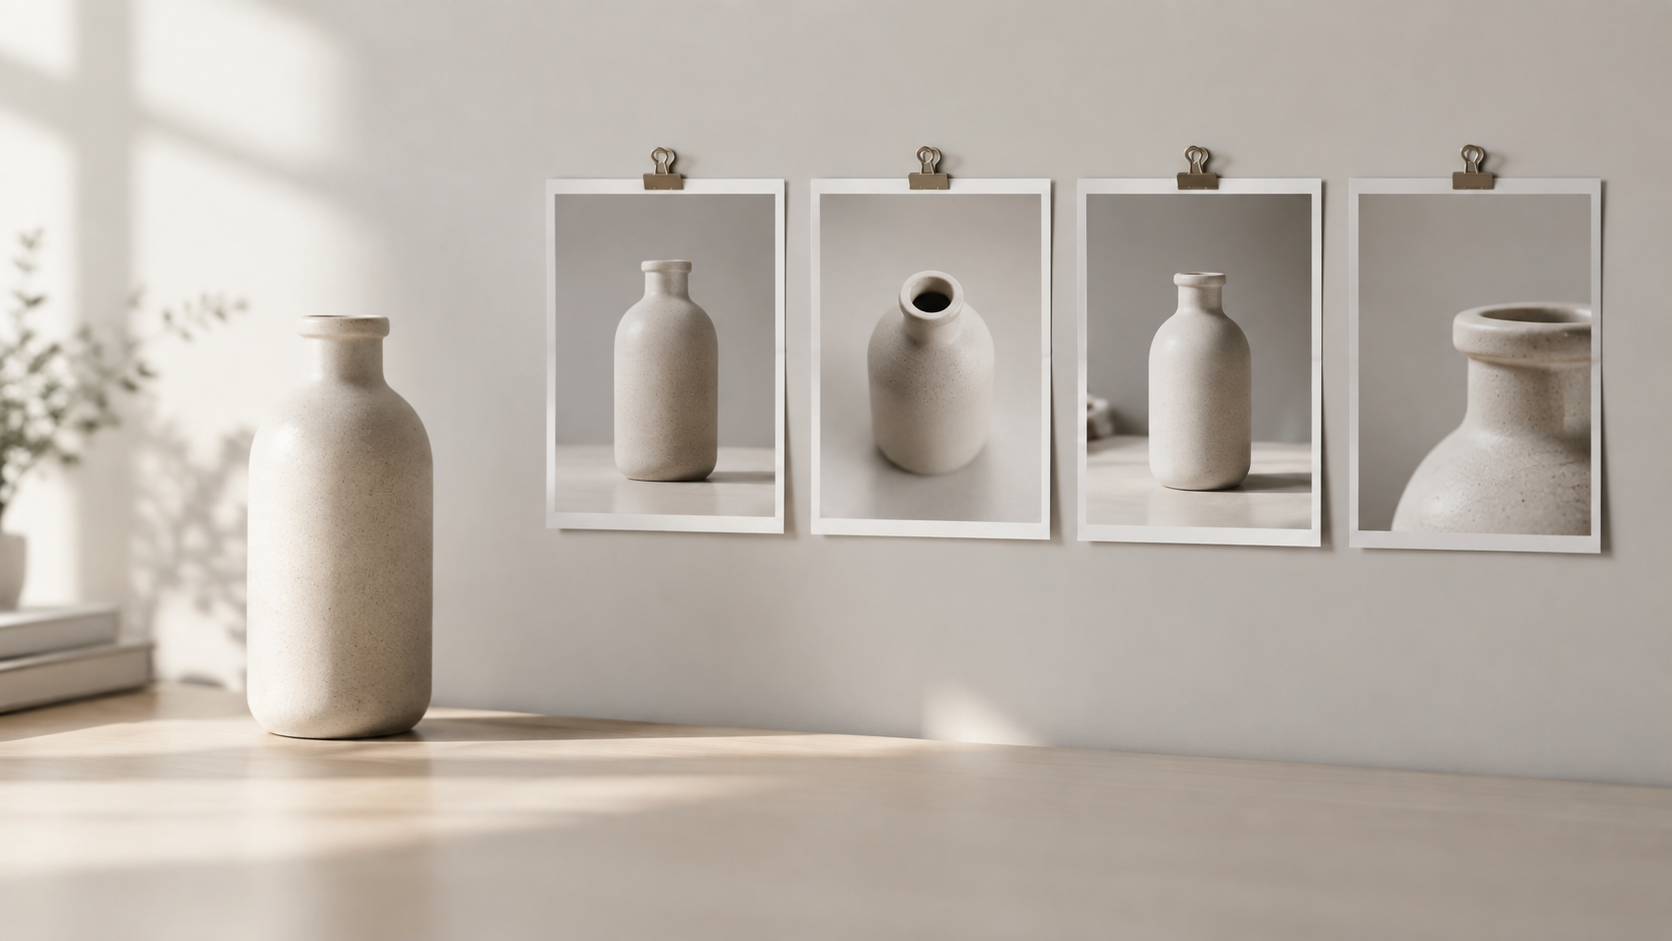
Work on the product and the frame around it first. Dust, fingerprints, cables, stray props, and small reflective hotspots are the cheapest wins, and they are usually the reason a photo reads as amateur rather than as a product shot.
Tools built for this are aimed at a single instruction: mark what should go, let the fill rebuild what belongs there. A dedicated removal pass lets you judge one result at a time instead of reviewing six changes at once.
Some workflows pull the subject off its background first and then clean it up. Others clean the original frame and replace the background afterwards. Either sequence works, as long as the cleaning happens before you composite anything. Cleaning after compositing means redoing the composite.
Two habits make this step reliable:
- Work on a duplicate layer or a copy of the file, so a bad fill never overwrites a good one.
- Zoom to 100% at the seam and check that the fill continued the texture, not just the color.
Step 3: Rebuild the Background With Matching Light and Shadow
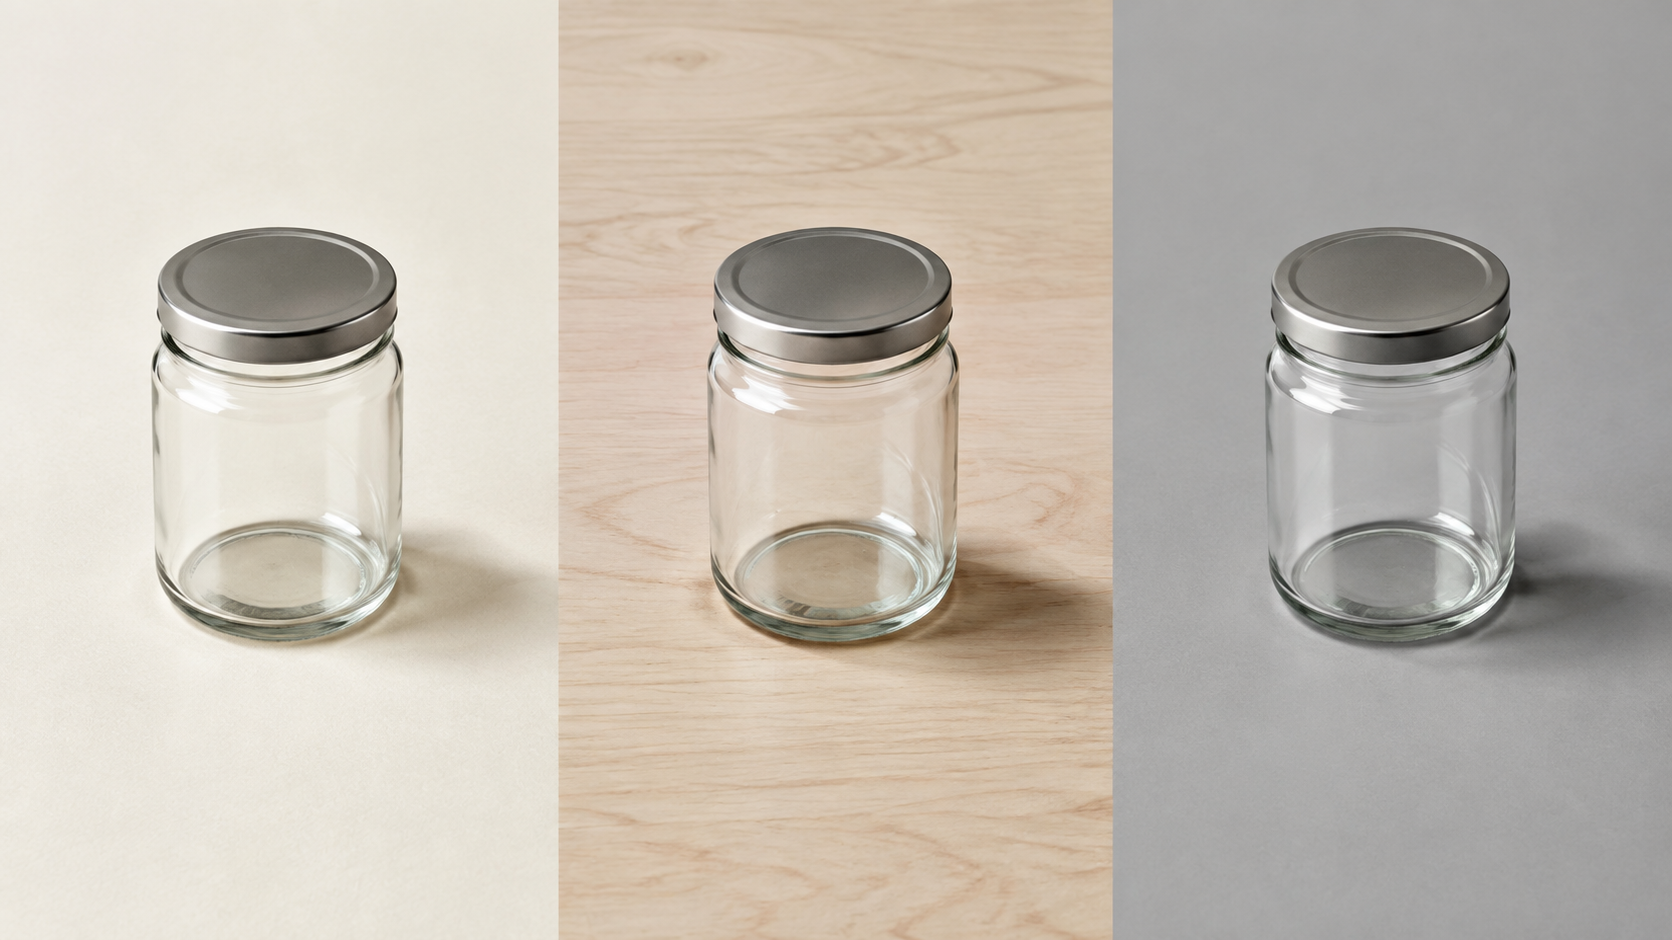
The background is where most listings become inconsistent. One photo has a wooden table, the next has a grey studio sweep, the third was shot on a kitchen counter. Buyers scanning a grid read that inconsistency as carelessness, and marketplaces often have their own expectations. Claid's guidance is blunt about this: you must respect each marketplace's rules around realism, minimum resolution, background color, and prohibited edits.
Two decisions matter here. First, pick a small set of backgrounds or style templates and reuse them across a category, so a catalog looks like one catalog. Second, when you place a product onto a new surface, match the light and the shadow rather than pasting the subject on top. Shadow and light direction are what make a composite believable; a missing contact shadow is the single most common tell.
For marketplaces that expect a clean white field, the surface and the shadow are separate jobs. Build the white background first, then add the contact shadow, then check the direction of both against the highlights on the product itself.
Step 4: Expand the Frame Instead of Cropping It
Every channel wants a different shape. A marketplace thumbnail is often square, a social post is portrait, a category banner is wide. Cropping one master image into all of those shapes costs you resolution, and it can cut off the parts of the product that make it recognizable.
Outpainting, also called generative expand, extends the image beyond its original canvas to create more background around the product. Claid's overview notes it is useful when you need to adapt the same packshot to square, 4:5, and 16:9 ratios for different channels. That is the right move when one photo has to serve every placement, and it is far less destructive than trimming the product to fit.
Expand with a specific instruction about the surface and the light, not a vague request for more room. The extension has to continue the existing surface and shadow, or the frame edge becomes a visible line.
Step 5: Inspect the Result Before It Goes Live
Cleanup is not finished when the file looks fine at thumbnail size. Claid's own workflow advice is to zoom in on labels, stitching, and textures and reject images with distorted elements or the wrong shade of color. Open the image at full resolution and review the areas that carry trust:
- Text and numbers on packaging, which are the first thing to distort.
- Logos, stitching, and fine patterns, where invented detail becomes obvious.
- Color, especially for premium materials, where an approximation of finish is often visible.
- Edges of the product, where a fill may have softened the silhouette.
Reject and redo rather than shipping something a careful buyer will spot. A single distorted label on a product page undermines the parts of the page that are entirely accurate.
Know Where AI Should Stop
Generated product imagery is at its best when it is arranging, isolating, and lighting a product that was genuinely photographed. It is at its worst when it is asked to represent the physical product itself. Gradepixel makes the point precisely: the model has not seen the physical product, and it produces what a product of that type typically looks like, based on training data.
That distinction is the whole game. Backgrounds, framing, stray objects, and lighting are presentation decisions, and changing them is fair. The product's material, finish, dimensions, and markings are facts, and changing those is misrepresentation, whoever does the editing.
Keep the original file for every listing you touch, keep a record of what was changed, and be ready to show the unedited frame if a customer or a marketplace asks.
A Pre-Publish Checklist
Run this list on every image before you upload it:
- The product sits on a consistent surface that matches the rest of the catalog.
- No stray object, cable, or reflection is visible anywhere in the frame.
- The contact shadow exists, and its direction agrees with the lighting on the product.
- The aspect ratio is native to the channel, produced by expanding rather than cropping.
- Packaging text, logos, and patterns are legible and undistorted at 100% zoom.
- Color and finish still match the physical item you sell.
- The marketplace's rules on background, realism, and resolution are satisfied.
- The unedited original is archived somewhere you can find it.
Where to Start
Start with one product, not with the whole catalog. Run the sequence once, compare the cleaned version against what is currently live, and only template the workflow after a single listing looks right from thumbnail to full zoom.
If you want to run these passes yourself, the object removal pass is usually the first stop, a background replacement handles the surface and the contact shadow, generative fill rebuilds what should be there instead of what you removed, and an image expander reshapes one master image for every placement you publish to. Working in that order, one decision per pass, is slower to describe than it is to do, and it is the difference between a clean listing and a listing that only looks clean at thumbnail size.