Photo to Video With AI: Direct the Motion, Not the Frame
A practical order for turning a still photo into a short AI video: pick a frame that can move, write a motion-first prompt, change one variable at a time, and protect the details that must not drift.
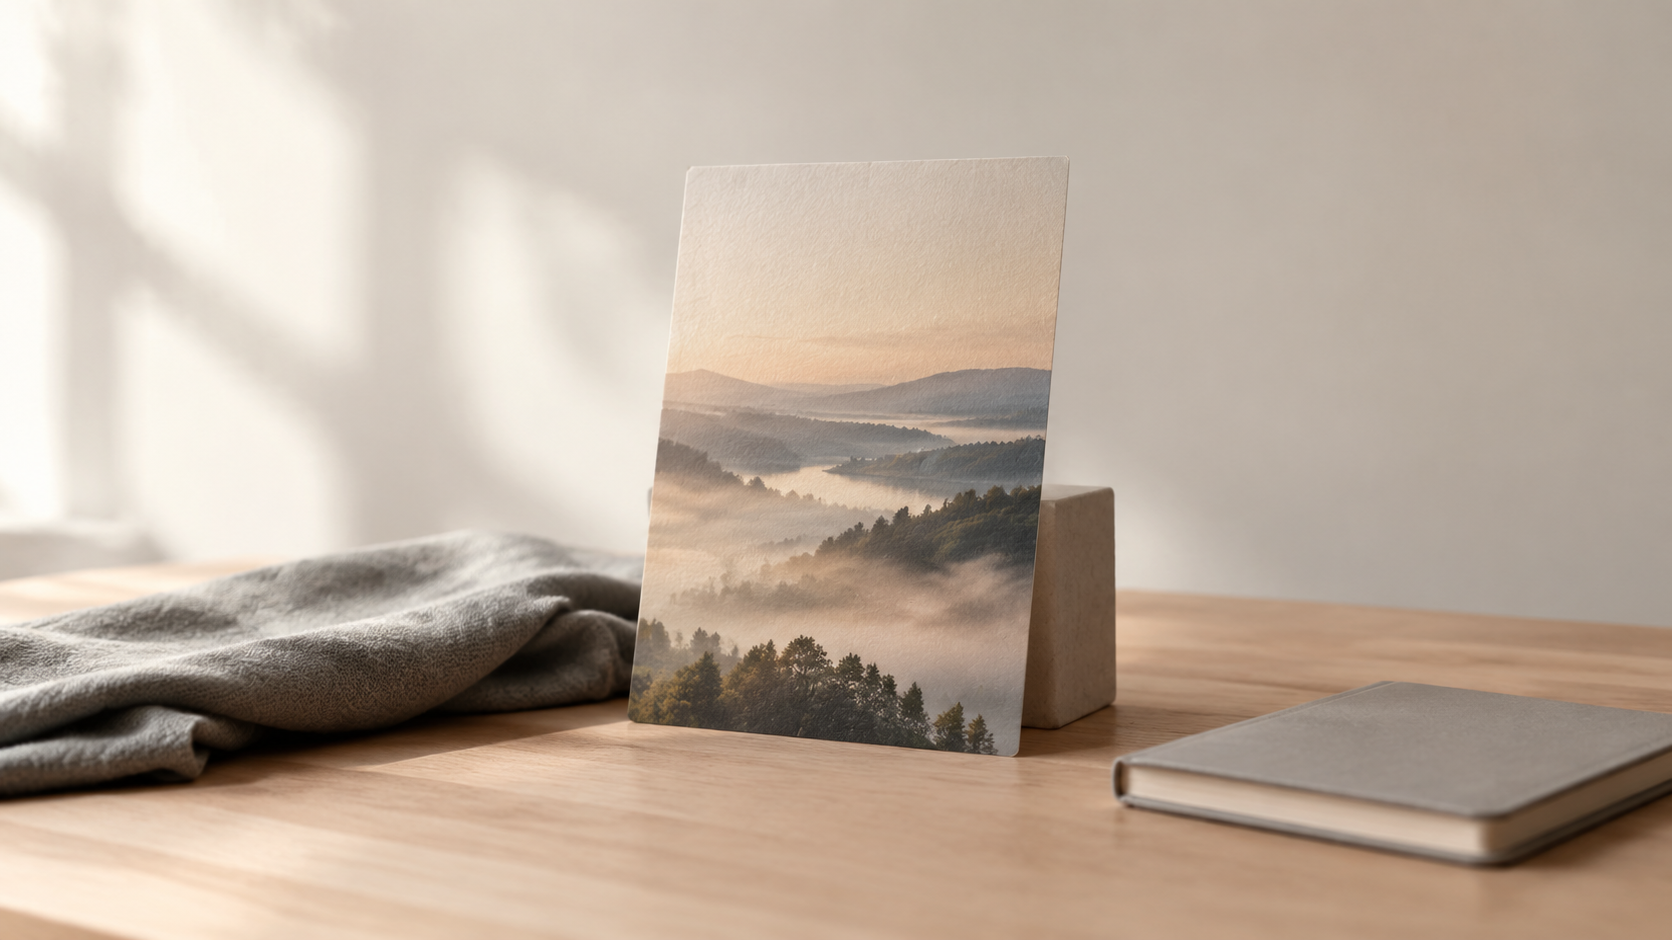
Most image-to-video tools are not asked to design a scene. They are asked to move a frame that already exists, and that single fact changes how a prompt should be written. In text-to-video the prompt has to describe the subject, the setting, the light, and the motion. When a photo is the starting point, the frame already carries the appearance. What is missing is time.
Magic Hour's image-to-video guide states the division of labour directly: let the image define appearance and use the prompt to direct motion. Luma's prompt guide makes the same point from the other direction, noting that strong image-to-video prompts describe motion rather than the picture itself, and that one clear movement usually beats a crowded one.
That is the whole discipline of this workflow. Everything below is an order for it: choose a source frame that can plausibly move, write motion instead of description, keep the first test short, protect the details that must not drift, and review the clip before sharing it, including the part where you say it is generated.
The Frame Is the Input; the Prompt Is Only Direction
It helps to stop treating the prompt as the creative act and start treating it as a set of instructions layered over a fixed image. Kling's guide notes that with image-to-video the reference image already supplies much of the appearance and composition, so the prompt can concentrate on movement, camera behaviour, and audio. The photo is not a mood board; it is the first frame.
That reframing has a practical consequence: when a clip comes back wrong, the first question is not "what should I add to the prompt?" but "is this a motion problem or a frame problem?" If the subject's proportions drifted, it was probably a frame problem, and no wording will fix it. If the camera moved the wrong way, that is a prompt problem, and one sentence can fix it.
The second consequence is restraint. The AI Prompt Shop's prompting guide separates visual description from motion description, because the visual side is already answered by the file you uploaded. Describing the subject's clothes, the weather, and the style back to the model spends the prompt's attention on decisions that were made when the photograph was taken.
Step 1: Choose a Source Photo That Can Move
Motion looks believable when the still frame already contains a reason for it. Luma's guide makes the point with a specific example: a tilt-up reads as natural when the source image already has strong vertical lines to reveal, because the camera move has something to follow. The same logic applies to water, drifting smoke, fabric, hair, grass, or a subject caught mid-turn. A frame with a clear direction of movement inside it is easier to animate than a flat, symmetrical one.
Two technical details are worth checking before anything else. Resolution: Luma's guidance is to upload at a minimum of 1024 by 1024 pixels, because the model is generating new pixels around what it can see. Condition: keep the original photograph rather than a heavily filtered or compressed copy, because a clip inherits the artefacts in its source frame and then moves them.
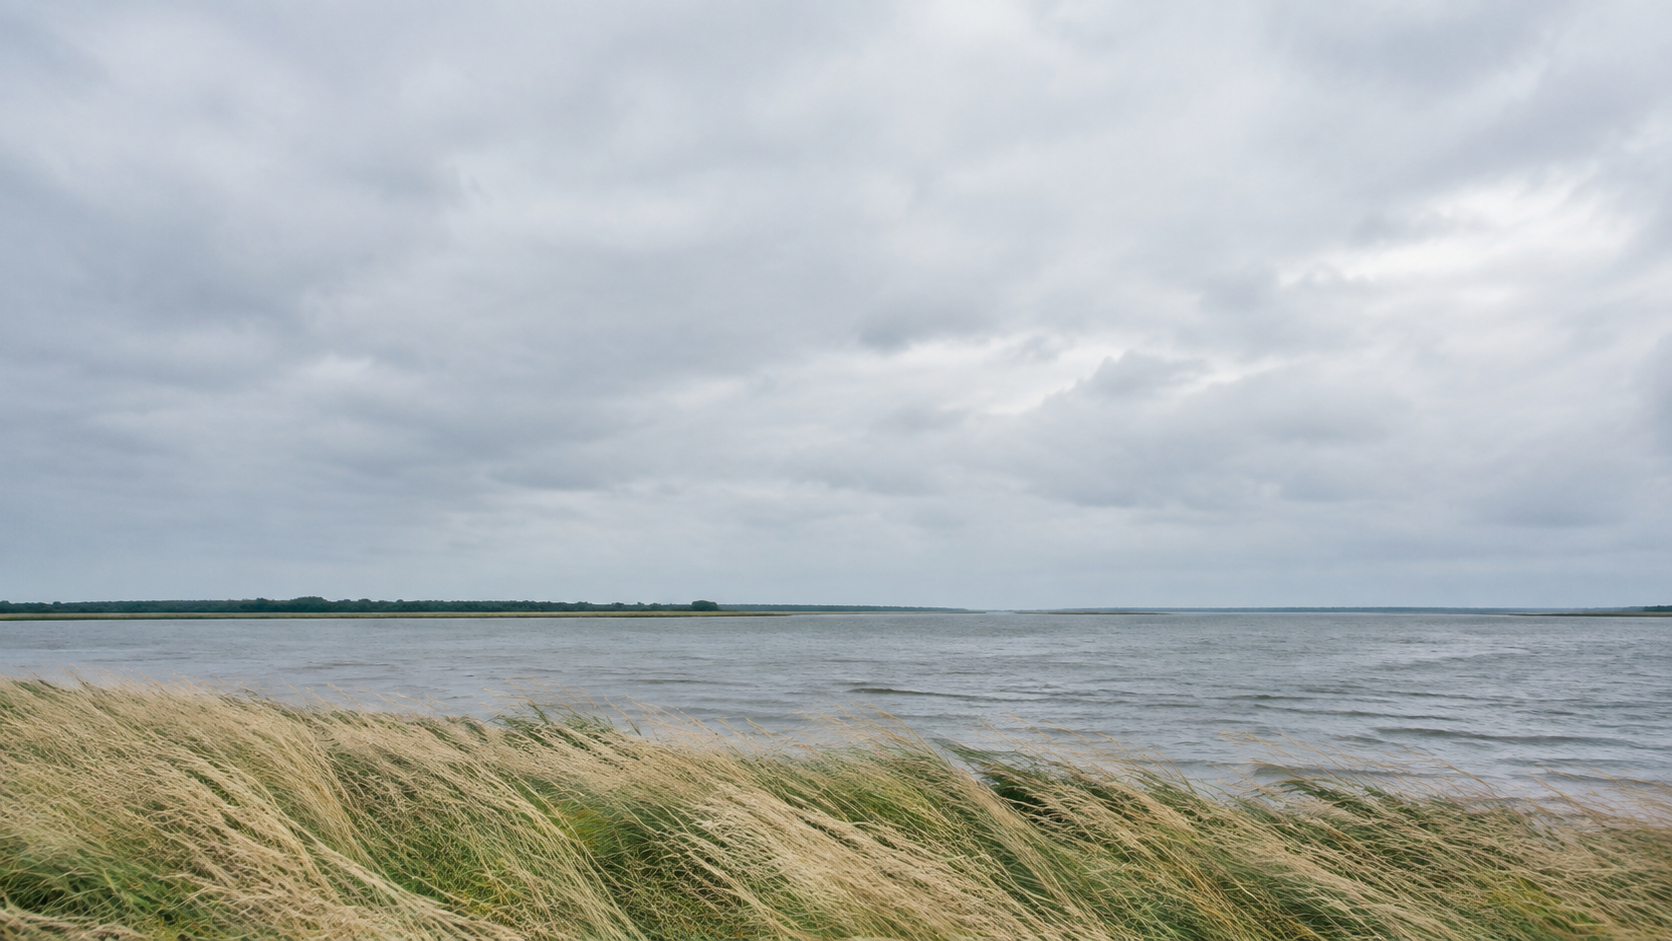
Then decide the framing you actually need, because the answer changes what has to be in the photo. A clip destined for a vertical feed has to keep the subject clear of the top of the frame where captions usually sit, and a wide version of the same shot needs room at the sides that a tight portrait does not have. If your only copy of the photograph is cropped too tightly for the shape you need, extending the frame is a separate job: on this site, image expansion is the step that comes before motion, not after it.
Step 2: Write Motion, Not Description
Magic Hour's guide offers a structure that is easy to remember because every part of it describes change: the subject action, the environmental motion, the camera behaviour, and a timing or continuity constraint. In practice, one sentence per element is enough.
- Subject action: one visible action, such as a slow head turn or a hand lifting a lid. Concrete verbs beat abstract intentions, which is also the AI Prompt Shop's recommendation: describe visible movement rather than an exciting mood.
- Environmental motion: one or two secondary behaviours, such as drifting steam, a reflection sliding across a surface, or fabric settling after the subject shifts. The same guide warns that a clip feels lifeless when only the main subject moves.
- Camera behaviour: exactly one move, whether that is a locked frame, a slow push-in, or a gentle orbit. Do not stack several incompatible camera moves into one short shot, and do not be afraid of writing something as plain as "locked camera, subtle motion only", which is how Magic Hour's own portrait examples read.
- Timing and continuity: how long the action takes, and what stays constant across the clip.
Elser AI's prompting guide adds the piece that makes this structure reliable rather than fussy: sort your instructions into stable elements and flexible elements. Stable elements are the things that must survive the clip unchanged, such as a face, a product's shape and label, a logo, an outfit, or the style of an illustration. Flexible elements are the ones you are willing to let the model interpret, such as the action, the camera, the mood of the light, background movement, and the space left for captions. Problems tend to appear when the prompt does not say which is which, so state restrictions in plain language: no warping of the label, no change to the face.
Step 3: Run a Short Test, Then Change One Variable
The first clip is a test, not a deliverable. Magic Hour's advice is to generate a short proof and then change one instruction at a time. The AI Prompt Shop's workflow makes the same point and adds a log: prompt version, input image, tool, aspect ratio, what worked, and what changed next time. Without that record, five attempts produce five opinions instead of one result.
Short tests also make failures readable. If you asked for a head turn, a camera push, a lighting shift, and a background change all at once, and the clip looks wrong, you cannot tell which instruction caused it. Kling's guide describes the same failure mode from the model's side: visual inconsistency usually appears when a scene asks the model to handle too many changes at once, and the fix is to simplify the action and give it a clearer reference.
Step 4: Protect Faces and Products While the Frame Moves
This is where image-to-video differs most from still editing, because identity has to hold for several seconds rather than for one frame. Luma's guidance is to keep the important elements stable while motion happens elsewhere. For a product, move the camera and the light rather than the object, and keep its shape and proportions fixed. For a portrait, avoid stacking several facial changes into one prompt, because one small head turn usually reads more naturally than changes to the eyes, the mouth, and the posture at the same time. Then compare the clip's first frame against the source photo at the same zoom: a clip can look impressive while quietly rewriting the thing you photographed.
Step 5: Watch the Whole Clip, Frame by Frame
The thumbnail lies. The AI Prompt Shop's review checklist is a good one to borrow: anatomy and object integrity across frames, physical plausibility, whether identity stays consistent, whether the background changes when it should not, legibility of any text that survived from the source, audio if the tool generates it, rights, safety, and suitability for the audience.
Two specific checks earn their place in every review. First, the details that prove the clip is not a rewrite: a uniform badge, a piece of jewellery, the exact shape of a label or a product's cap. Second, the frame edges, because extension or camera movement can drag invented content in from outside the original picture, and that content has no relationship to the scene you photographed.
Decide the Shape Before You Prompt
Aspect ratio is a decision that belongs before generation, not after it. If the clip has to fit a vertical feed, the source frame and the prompt should both be planned for that shape, because reframing afterwards means cropping away motion you paid to generate. Leave deliberate empty space where captions will go, the way Elser AI's product prompt template does, and keep the subject clear of the edges that an app's interface is most likely to cover.
Say What the Clip Is
A generated clip of a person smiling, a product turning, or a place at sunset can look exactly like footage of something that happened. The AI Prompt Shop's guide is direct about the standard: do not imply that generated footage is a real event, and follow the disclosure and provenance requirements of the platform and the intended use. In practice that means a visible label or a line in the caption wherever the clip appears, and extra care with anything that reads as testimony: a photograph of someone who has died, a moment anyone could mistake for a recording, or a documentary-style scene presented without context.
Ask before animating someone else's photograph, too. The tool will do it; that is not the same as permission.
A Short Checklist Before You Publish
- The source frame contains a believable reason to move, and it is at least 1024 by 1024 pixels.
- The prompt describes action, environment, one camera behaviour, and timing, and does not redescribe the photograph.
- Stable elements are named in the prompt: face, product shape, logo, label, style.
- The test clip was short, and the last attempt changed one variable.
- The clip was reviewed frame by frame at the size your audience sees it, including the edges.
- Caption space exists, and the aspect ratio matches where the clip will be posted.
- The clip is labelled as generated wherever it appears.
Where to Start
Pick a photograph with a single obvious direction of movement, such as water, wind, or a subject caught mid-gesture, and ask for one restrained action with a locked camera. Then change one thing: add an environmental detail, or swap the locked camera for a slow push-in. Two or three short tests teach you more about your tool than a long prompt written in advance.
If you want to run that test yourself, converting a photo to video starts from a still frame the way this workflow assumes, and a text to image pass earlier in the process is one way to produce a frame that already has the composition and the empty space a clip needs. Whichever route you take, the order stays the same: frame first, motion second, review third, disclosure last, and never the other way round.