How to Control an AI Image Transformation Without Losing the Original
A five-step AI image transformation workflow: prepare the source, choose a transformation band, write a matching brief, then iterate one variable at a time.
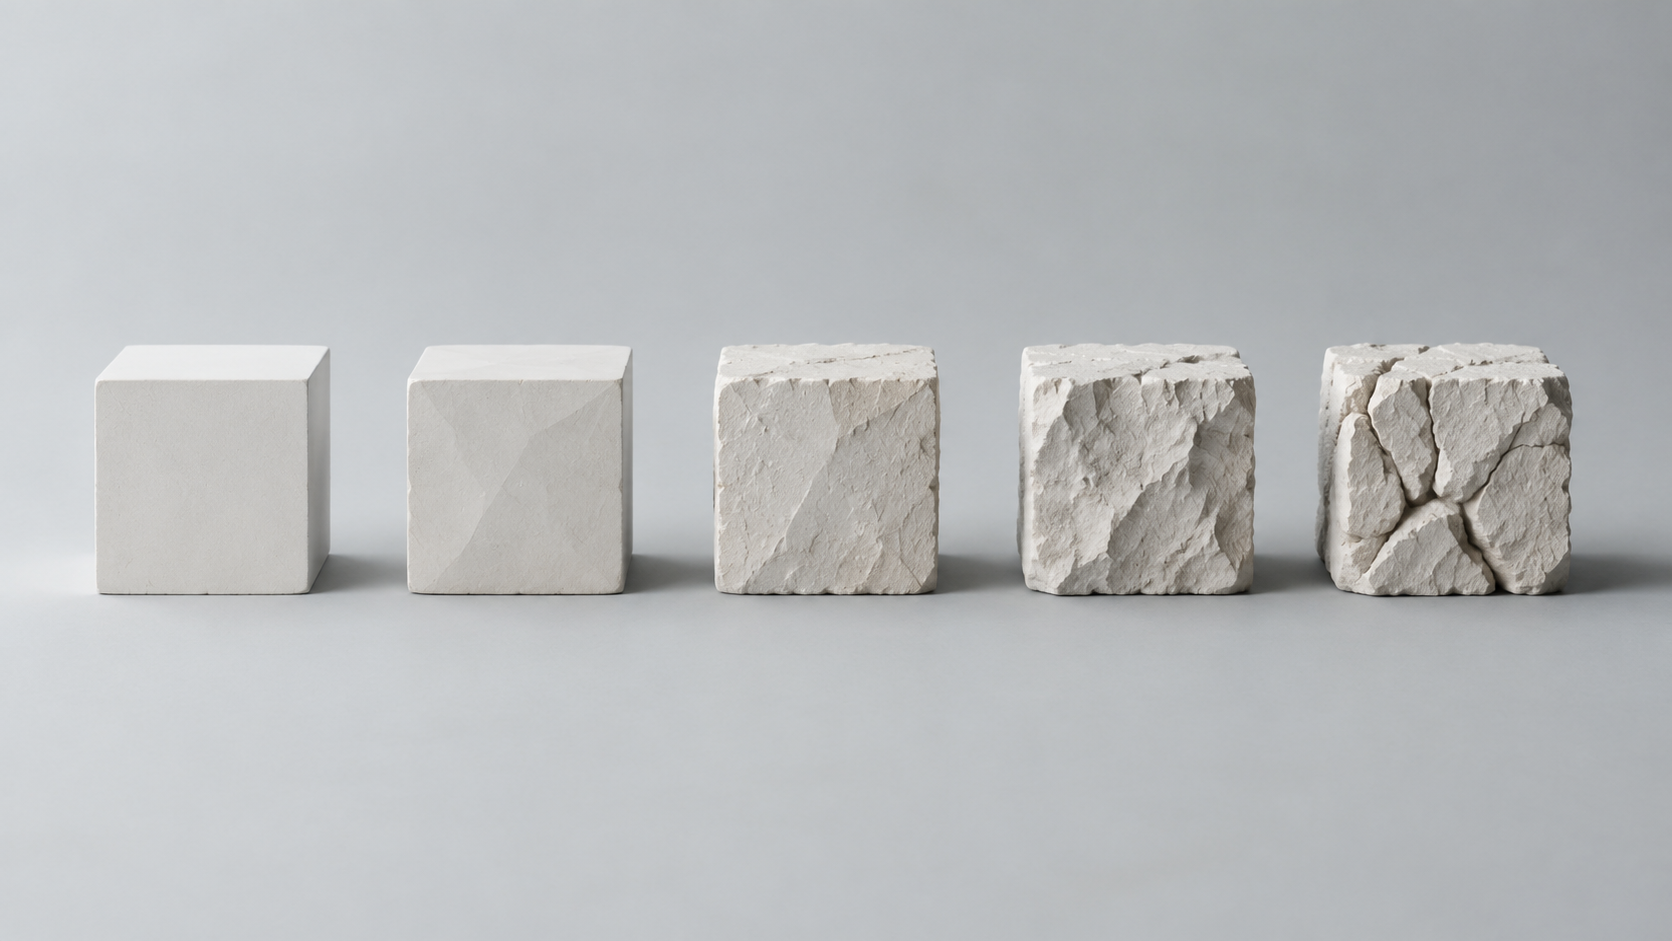
Most disappointing AI image transformation results are not model failures. They are dial failures. You upload a photograph you already like, describe the restyle you want, and the tool hands back either a near-identical copy with a filter over it or a different picture that treats your composition as a loose suggestion. Both outcomes come from the same missing decision: how much of the source image is supposed to survive.
Image-to-image tools make that decision explicit. They start from your picture instead of from noise and walk a shorter distance toward your prompt, which is why they hold composition, pose and layout better than a fresh generation does. The reviewer at Kling frames the split plainly: text-to-image builds a visual from a written description, while image-to-image begins with an existing image plus instructions, so the source guides the subject, composition, style and overall direction (Kling, best AI image generator). The control that governs how short that walk is travels under several names — denoising strength, image weight, creativity, strength — and setting it on purpose is what separates a transformation you can use from one you have to redo. What follows is a five-step workflow, from preparing the source to reviewing the export.
Why the Source-to-Result Distance Is the Real Control
Everything in an image-to-image run is downstream of one number. AI Horde's parameter documentation describes it directly: denoising strength controls how much of the starting picture is replaced — near zero the source is mostly kept, around the middle the prompt can restyle the image while the subject survives, and near one the source has little or no practical influence, with typical runs sitting around 0.75 (AI Horde, denoising strength).
That range has usable bands. A design studio that teaches architects to render their own models places the low band at 0.2–0.35, where the tool barely touches the image and instead adds materials and light while keeping every line, and the high band at 0.7–0.9, where only the loose composition survives and the rest is reinvented (Studio Matrx, img2img and ControlNet). Its recommended middle setting for architectural work is roughly 0.35–0.5, and it names the wrong strength as the single most common reason an AI render does not look like the building it came from.
Not every tool hands you the number. OpenArt's own FAQ on controlling how closely an output matches its reference notes that Stable Diffusion front-ends expose a strength slider, that Midjourney uses the image-weight parameter, and that context-editing models such as FLUX Kontext and GPT Image 2 have no slider at all — so preservation has to be written into the prompt instead, as in "while keeping the same facial features and hairstyle" (OpenArt, image-to-image guide). Your dial may be a number, a slider or a sentence. The decision behind it is identical.
Step 1 — Prepare the Source and List What Must Survive
No transformation can recover information the source does not contain, so the cheapest quality win happens before the tool opens. Runway's tutorial gives the practical version: if you are starting from an existing photo or sketch, upload it and describe the transformation you want rather than building from nothing (Runway, how to make AI images). Starting from a real frame is precisely what buys you reliable control over composition.
Preparation is a few minutes of housekeeping. Crop to the framing you actually want, correct obvious exposure and colour problems, and remove anything you already know you want gone so the model is not arguing with the original. Decide the output aspect ratio now instead of cropping afterwards, and keep an untouched copy of the source, because you will compare against it at every step. If something fine has to survive — a product label, a fabric weave, a face — check the source is sharp enough to carry it before you ask for a transformation that preserves it.
Then write down three answers before you type a word of prompt:
- What must not change? Identity, geometry, label text, logo placement and lighting direction are the usual invariants.
- What is the one change you want? One primary change per pass keeps both the brief and the review tractable.
- What shape is the output? Resolution, aspect ratio and format belong in the plan, not in a rescue attempt at the end.
Step 2 — Pick a Transformation Band Before You Write the Prompt
Choose the band from what has to survive, not from how adventurous you feel today. Three bands cover most work:
- Touch-up (roughly 0.15–0.35). Geometry, edges and composition hold; the prompt supplies materials, light and finishing. This is the band for relighting a product shot, adding grain, or tidying a background your subject already sits well against.
- Restyle (roughly 0.35–0.6). The subject and layout hold while surfaces, palette and mood are rebuilt — the band the studio above recommends for turning a rough 3D view into a polished render with the massing intact.
- Reinvention (roughly 0.7–1.0). You are keeping an idea rather than an image. Composition drifts, small detail disappears, and anything you genuinely needed to preserve will have to be reintroduced deliberately.
Two rules keep the choice honest. If a client or a reviewer would notice a change to it, that element belongs in the preserved group and pushes you toward the lower band. And work upward rather than downward: start below the value you think you need and raise it only when the result comes back too timid. Recovering from a timid restyle is a single extra pass; recovering from a destroyed composition usually means starting again.
Step 3 — Write the Brief to Match the Band
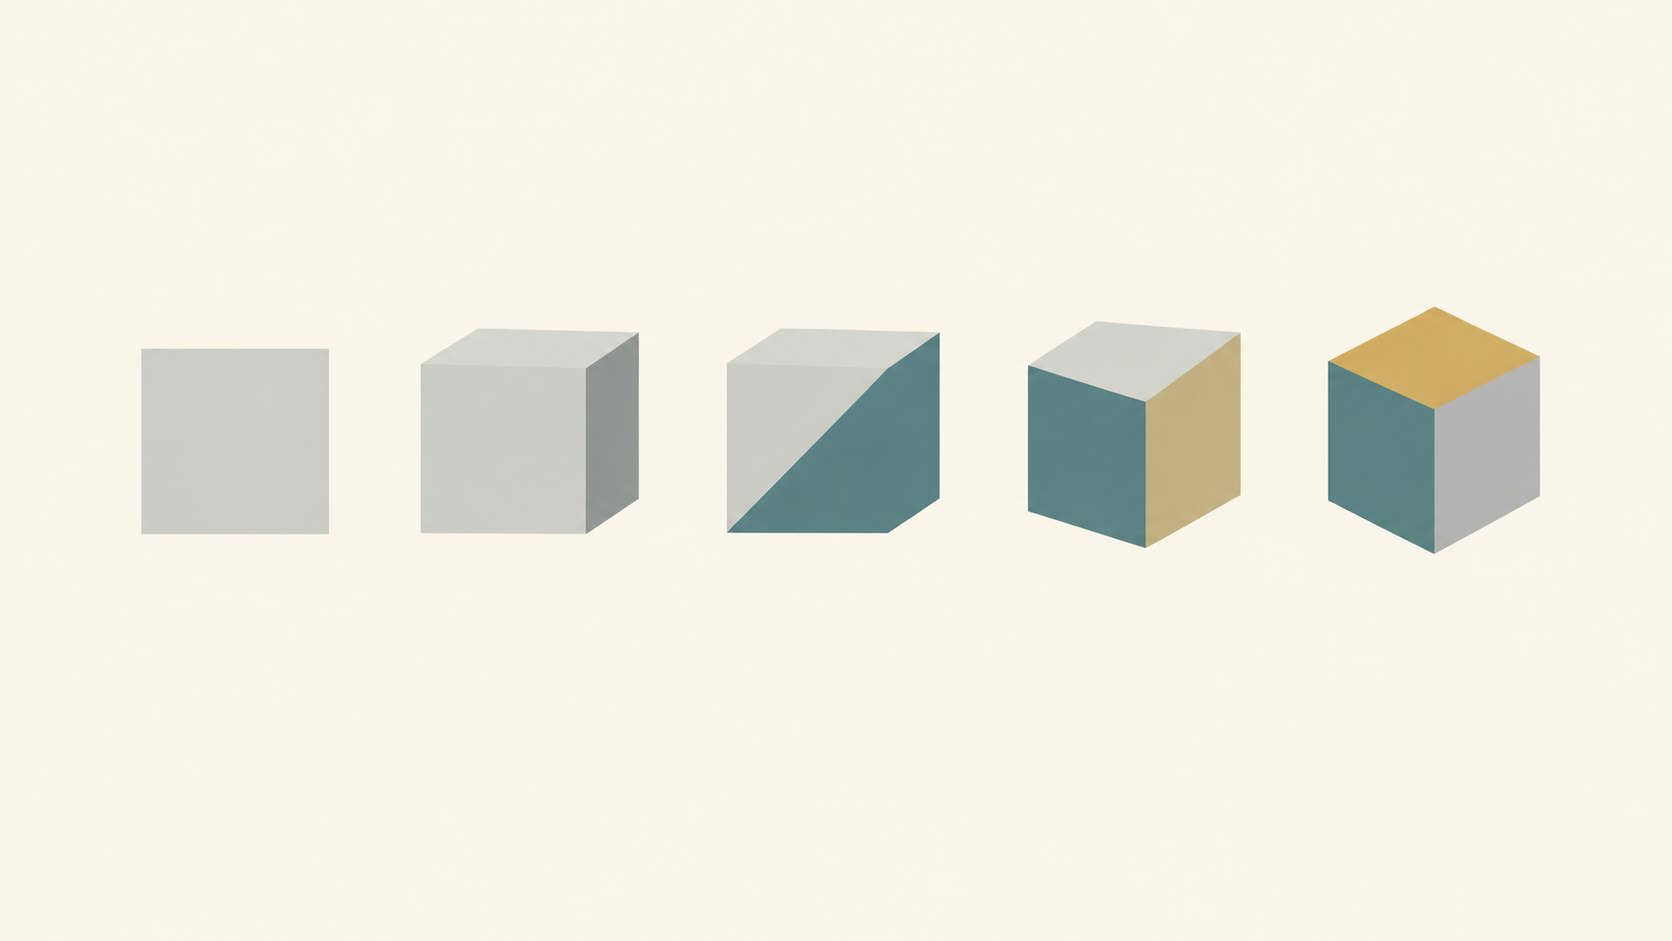
In a low band, the invariants become the longest part of the prompt and the change is short. In a high band, the opposite is true: you describe the destination scene and accept that the source is only a reference for mood. Either way, one structure keeps the brief readable — name the target, describe the change, restate the invariants, then add integration cues for how the new pixels should sit against the old ones.
A middle-band example: "Restyle this kitchen photograph as warm Scandinavian daylight. Change only the surfaces and light: pale oak cabinetry, soft linen textiles, diffused daylight from the left. Keep the room geometry, camera angle, window position and appliance placement unchanged. Match shadow softness and reflections to the original capture."
OpenArt's own walkthrough lands on the same two obligations: write a prompt that describes the final image, and say what must stay the same (OpenArt). Runway adds the ordering advice — image models tend to weight earlier words more heavily, so front-load the details that matter most (Runway). Positive description also beats negative lists in practice: telling the model what the surface should be is more reliable than listing everything it must not add.
Step 4 — Iterate One Variable at a Time, With the Seed Locked
Once the band and the brief agree, stop rewriting everything. AI Horde's guidance is to change the value gradually and compare results, and its published examples were made from one prompt, one model and one seed while only the setting under discussion moved (AI Horde). That is the discipline to copy: lock the seed, change one clause or one band step per round, and keep the rest of the brief identical so you can tell which edit did the work.
Luma's guidance on revisions points the same direction — change only what needs changing so the approved foundation stays intact (Luma, AI image prompting guide). Two behaviours are worth watching for across rounds. If the result drifts away from your invariants, restate them more explicitly rather than adding new instructions. If the model keeps inventing unwanted elements, describe the thing you do want more precisely instead of growing a list of prohibitions. When a round lands, save the exact prompt text and settings; that line is now a preset for this subject.
Step 5 — Restrict the Change, Then Review at Full Size
A transformation value is global: AI Horde is explicit that it does not identify which objects or features will change, and that a mask is the tool for limiting the area (AI Horde). Structure controls go further. ControlNet extracts a structural map — edges, depth or pose — from your input and forces every generated pixel to obey it while the prompt only supplies style, and context-edit models change just the region you name without any masking at all (Studio Matrx). When the job is genuinely narrow, a single-purpose tool is faster than a general one: generative fill to repair or extend one area, an object remover to take out a distraction, local recolor when only a colour should move, and an image expander when the framing itself has to change. Leave a little margin around an object's edge so the tool has room to blend the new pixels into the old.
Then review properly, side by side with the untouched source and at full size, asking four questions in order: did the change I asked for actually happen, did the invariants hold, does the new content sit correctly against the original light and perspective, and did anything else move. Thumbnails hide exactly the defects that matter — a shifted hue, a softened edge, a logo that crept. Zoom in on whatever the tool had to invent.
Limits Worth Knowing Before You Publish
Three limits keep the workflow honest. Models are not interchangeable: rankings move between tasks and the same wording behaves differently in another generator, so a prompt that works in one tool is not a guarantee in the next (OpenArt). Repeated editing accumulates damage: Black Forest Labs, the maker of FLUX Kontext, documents visible degradation after six edits in a row on the same image, which is a good argument for short chains and clean sources (OpenArt). And rights do not transfer with the pixels: do not transform images you have no right to use, do not prompt for identifiable people or protected characters in ways you are not permitted to, and disclose AI editing where your audience or your platform expects it.
Run the Workflow Once Today
The difference between a transformation that looks generated and one that looks intentional rarely comes down to magic words. Prepare the cleanest source you can, decide up front what must survive, choose the band that protects it, write a brief that matches the band, then move one variable at a time with the seed locked and review at full size in the end. Run that loop and the strength value stops being a lottery.
Open the KOOX AI image to image tool, load your best source frame, and start one band lower than you think you need. When the change you want is a whole-frame restyle, that tool is the right one; when it is one region or one attribute, hand the job to a narrower effect and leave the rest of the image alone.