Generative Fill Prompt Patterns to Fill Missing Parts of an Image
Fill missing parts of an image with reusable AI generative fill prompt patterns: a four-slot template plus the swap, extension and repair fill prompts.
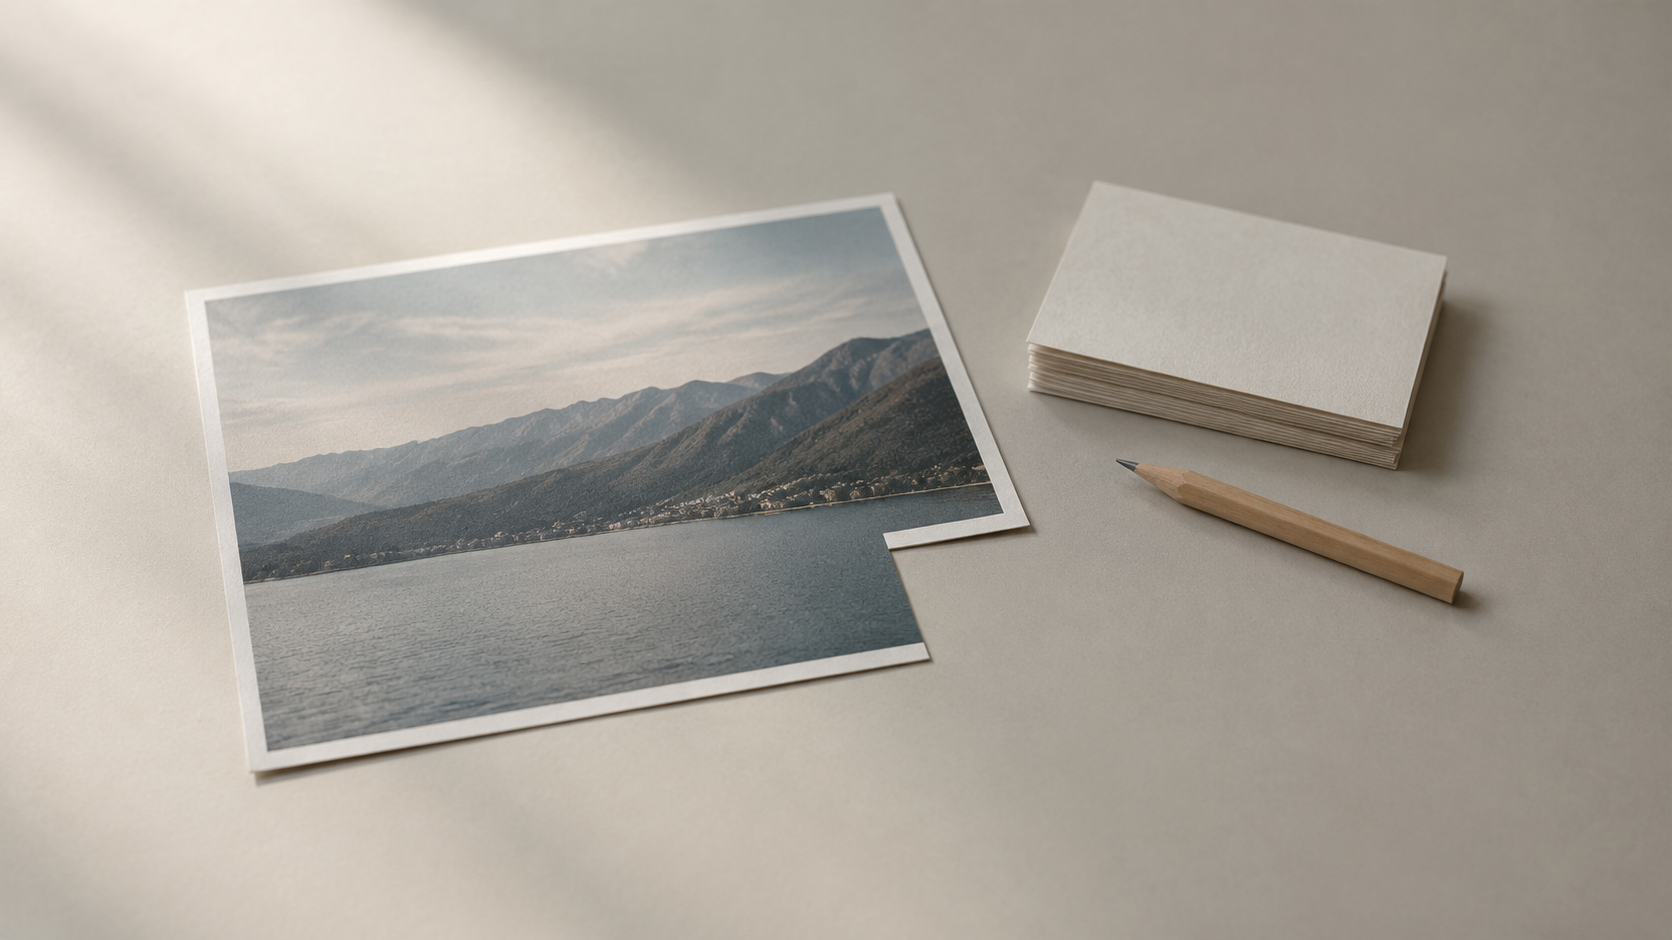
Generative fill is the closest thing AI photo editing has to a magic trick: you mark an empty region, type a sentence, and the model invents plausible content that sits where nothing existed before. The catch is that the tool only knows what you tell it. When a result looks pasted, the mask is rarely the real problem; the prompt is. This guide collects the prompt patterns that reliably fill missing parts of an image, explains why each one works, and shows how to adapt them to your own photos with a focused editor such as the AI generative fill tool on KOOX AI.
What Generative Fill Actually Reads in Your Prompt
Before the patterns, it helps to know what the model is being asked to do. Generative fill regenerates a selected region instead of remaking the whole frame, so it reads two inputs at once: the pixels around your selection, which carry the perspective, colour and lighting of the scene, and the words you type, which describe what should appear inside that space. A good fill blends because the model is matching the new content to the existing context rather than starting from a blank canvas.
Big editing platforms describe the same mechanic. Photoshop's help documentation explains that you enter a text prompt describing what you want to generate, and that if you leave the prompt empty the tool simply fills the selection using the surrounding pixels. Photography guides make the point plainly: generative fill analyses the image to create new content that matches the lighting, perspective, colours and overall look of the scene, which is exactly why it can add an element that was never photographed.
The practical consequence is that an empty prompt is a fallback, not a strategy. Leaving it blank lets the model reconstruct texture from nearby pixels, which is useful for a tiny repair, but it gives you no control over what the new content represents. To place a specific object, material or detail, you have to name it.
The Four Slots Every Fill Prompt Needs
Every reliable fill prompt, whatever the tool, tends to carry four pieces of information: what to add, what it is made of, where and how big it should be, and how it should sit in the light. Editing documentation frames the last two as the difference between a fill that blends and one that floats: describing the expected size, material and placement lets the generated object match the original perspective, lighting, contact shadow and depth of field.
Specificity is the second lever. A one-word prompt returns a generic result, while a described one returns something close to your intention. The classic example is that "cup" gives you an arbitrary cup, whereas "blue porcelain cup of steaming hot coffee on a matching saucer with a teaspoon beside it" gives you the scene you pictured. The four slots turn that advice into a repeatable template:
- Subject: the object or material that should appear in the marked region.
- Detail: colour, material, texture and finish.
- Placement: where it sits, how large it is, and how it is oriented.
- Integration: the lighting direction, contact shadow and depth of field it must match.
Keep each slot to a short phrase. The goal is a readable brief, not a page of contradictions, because an overloaded prompt confuses the model as much as a vague one.
Pattern One: The Descriptive Swap
The first and most common pattern replaces whatever currently sits in the marked area with something else:
Replace [current object] with [new object plus material and colour]. Keep [shape, label, camera angle and background] unchanged. Match [reflections and contact shadows] to the original lighting.
This works because it states the change and the invariants together. Naming what must not move, such as the product label, the camera angle or the background, is what stops the model from quietly improving the parts you needed kept. Point the fill at one object at a time, since a mask that covers a whole shelf of products invites the model to redesign all of them.
To adapt it, swap the bracketed pieces for your own scene. For a product photo: "Replace the plain plastic cap with a brushed aluminium cap. Keep the bottle shape, the label text and the camera angle unchanged. Match the reflections and the soft contact shadow under the base." The integration clause is doing real work here; without it, the new cap tends to look cut out.
Pattern Two: The Context Extension
The second pattern fills an empty region by continuing what is already there. It is useful when you have cropped too tightly, when a scan leaves a blank edge, or when a composition needs more breathing room:
Continue [surface or material] into the marked region at the same scale and perspective. Keep grain, shadow direction and depth of field consistent with the surrounding area.
Because the model is matching the neighbourhood rather than inventing a recognisable object, this pattern is forgiving, and it is where an empty prompt also performs well: for plain textures, letting the tool sample the surrounding pixels is often enough. The moment the extension needs a specific element, such as a continued floorboard or a pattern that has to line up, describe that element and its direction explicitly.
Pattern Three: The Repair Fill
The third pattern targets genuine gaps: a missing part of an image, a chipped surface, an area hidden by something you removed, or a damaged section of an older photo.
Fill the marked gap with [material] that continues the surrounding [surface]. Match the existing texture, tone and edge detail, and keep the original grain.
Repair fills live or die on the mask. Painting the selection slightly larger than the gap, so it includes a sliver of the intact surrounding pixels, gives the model evidence to match against. A mask that hugs the edge exactly leaves nothing to blend into, which is the single most common cause of a visible seam.
Why Fills Look Pasted, and the Prompt-Level Fix
When a generated object appears to float, the cause is usually a missing integration cue rather than a weak model. The content is placed correctly but is lit from the wrong direction, casts no contact shadow, sits at the wrong scale, or carries sharper edges than its surroundings. The fix is to add the cue you left out: name the light direction, ask for a soft contact shadow where the object meets the surface, and state the approximate size so the perspective agrees.
There is also a mask-side fix worth knowing. If an object keeps looking pasted, repaint the mask around the complete original object with a small margin, keep useful scene context visible, and, when the tool supports it, supply a reference image with a similar viewing angle. Describing the expected material and placement in the prompt then lets the model line the new object up with the original perspective and shadow.
How to Adapt a Pattern to a Different Tool
Different editors reward different phrasing. A conversational editor that you drive with paragraphs responds well to a full four-slot brief written as sentences, while a masked fill inside a focused web tool prefers a short, high-signal phrase. The slots stay the same; only the wording changes.
Two habits keep the patterns portable. First, change one variable per attempt, whether that is the lighting clause, the material, the mask or the scale, so you learn which word did the work instead of guessing at a whole new prompt. Second, keep your best prompt as a template: many editors let you regenerate variations from the same instruction, so once a phrasing lands you can reuse it across a series of images and edit only the details.
A Short Workflow You Can Repeat
Put the patterns together and the routine is small. Pick the cleanest version of the source image, mark a region slightly larger than the area you want changed, write the four slots as one or two sentences, generate, and compare the result against the untouched original rather than judging it in isolation. If it misses, adjust a single slot and regenerate. Zoom in at full size before you approve, because defects that vanish in a thumbnail can return on a large screen or in print.
Run that loop and the model stops guessing. You supply the intention, meaning the object, its material, its place and its light, and the tool handles the pixels.
Use It Responsibly
A precise prompt is a plan, not permission. Do not upload images you have no right to edit, and do not prompt for real, identifiable people or protected branded products in ways you are not allowed to. When an edited image goes to a client or a public audience, disclose that it was AI-edited and do not strip its provenance information.
Try the Patterns on Your Own Image
Start with one object and one change. Mark the region, write the four slots, and let the fill blend the new content into the scene. The generative fill tool on KOOX AI regenerates a marked region at up to 4K output, which makes it a practical place to practise the swap, the extension and the repair patterns, and to see how much a precise prompt changes the result.