Remove Photo Background Online: A Five-Stage Workflow From Raw Photo to Delivered Cutout
Remove a photo background online with a repeatable workflow: prepare the shot for clean separation, run one standard pass, test the cutout on two backdrops, fix only what the test exposes, and export a file that meets real listing specs.
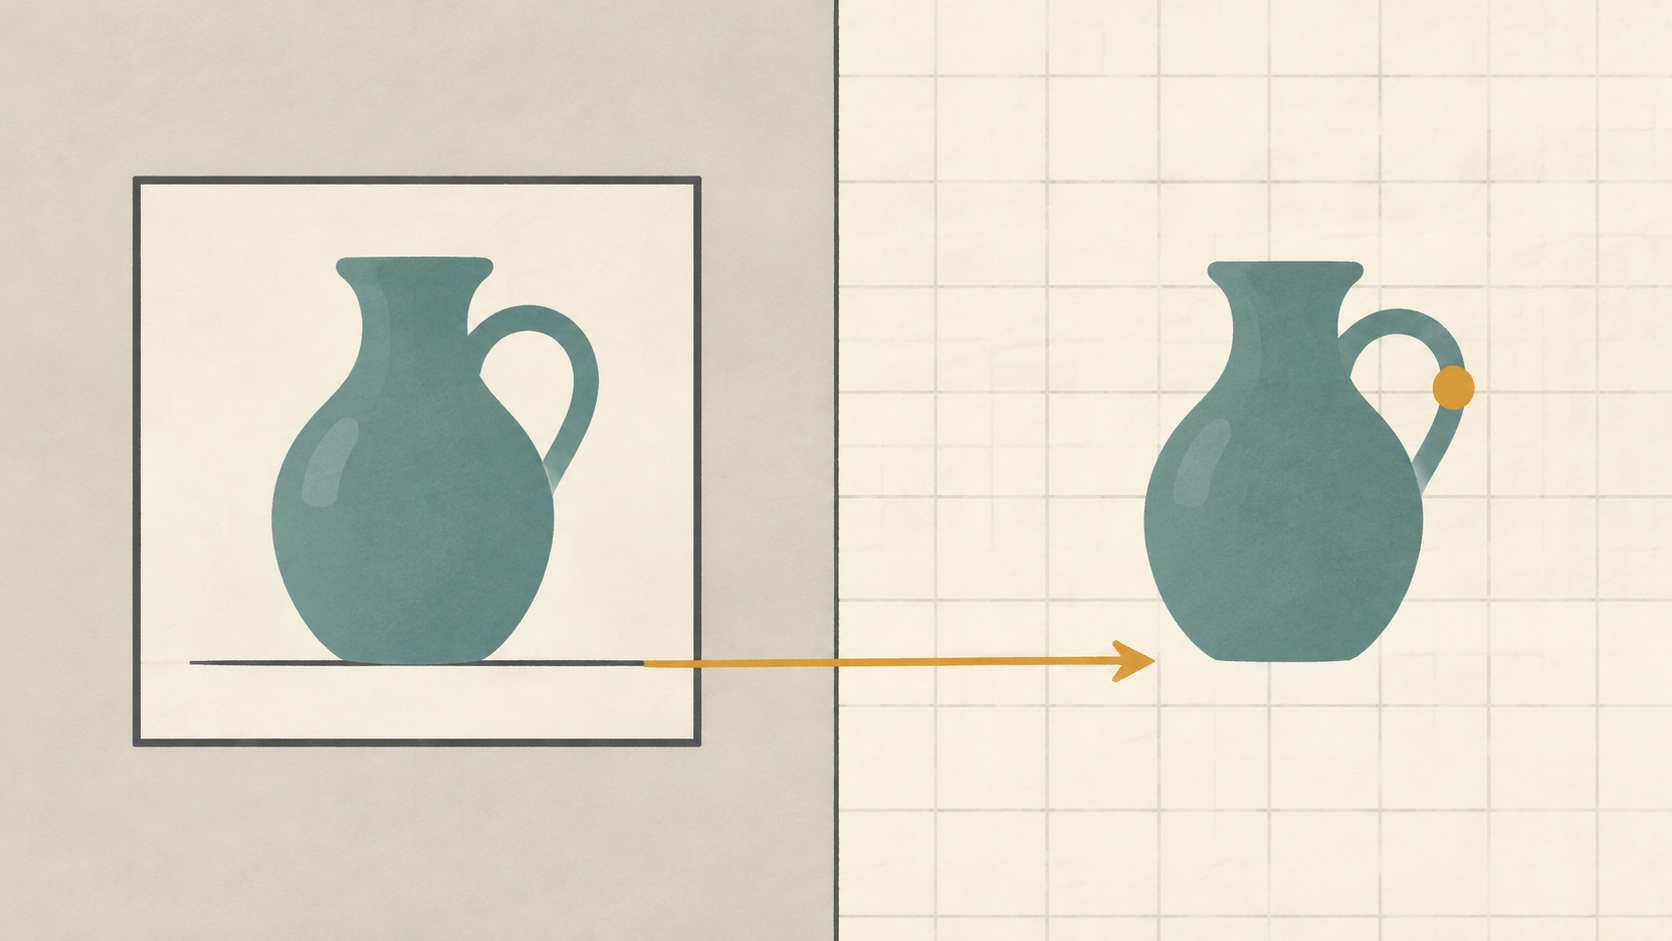
Most failed cutouts are decided before the upload. When the subject and the scene behind it sit in the same tone, when one light source colours both, or when a strap crosses the outline you need to keep, the removal step has to guess, and guesses show up as fringes, chewed handles and holes in the middle of a product. The click is the easy part of removing a photo background online. The workflow around the click decides whether the file is usable at the end.
What follows is that workflow in five stages: prepare the frame, run one standard pass, test the cutout against two backdrops, fix only the failures the test exposes, and export a file the destination will accept. Once you have done it twice, it takes about ten minutes per photo.
Stage 1: Give the photo a fair chance before you upload
Separation is the whole job. A model finds the boundary where subject pixels stop behaving like background pixels, so anything that strengthens that boundary is worth more than any amount of later touch-up. Three things carry most of the weight: tone, light and clearance.
Tone first. A pale mug on a pale table is a harder cut than the same mug on a dark cloth, and it takes two minutes to change. The contrast does not need to be attractive, it needs to exist along the outline the tool will trace.
Light second. Hard, direct sun produces a crisp shadow that the cutout usually keeps attached to the subject, because the shadow really is part of the scene. Soft, diffused light keeps that shadow shallow and easier to drop: an overcast sky, a window with a sheer curtain, or a sheet of white foam board bounced into the shadow side. Product photographers work this way for exactly this reason, relying on diffusion and reflectors rather than one hard source, and preferring the low sun of early morning or late afternoon over midday light directly overhead (Shopify).
Clearance third. Anything touching the outline, whether it is a strap, a leaf, a shelf edge or a second object standing behind the product, is information the cut cannot invent. Leave a visible gap. If the object has to be propped, prop it from behind and check the outline from the camera position before you shoot.
Two smaller habits pay off later. Shoot slightly wider than the final crop so you have margin to straighten and reframe, and keep the sharpest, largest frame you own. Focus defines the edge; motion blur smears it into a soft band that no model can recover.
Clean and frame the input in two minutes. Small corrections belong before the cut, not after it. Colour, exposure and straightening all change pixels at the outline, so doing them later means either re-running the removal or editing a flattened PNG and degrading the transparency while you are at it.
- Straighten horizontals and verticals before anything else.
- Crop to the working frame and leave an even margin on every side.
- Fix white balance and exposure while the full original is still in front of you.
- Spot dust and smudges. A speck that looks trivial at 100% becomes a floating fleck sitting in the middle of the alpha channel.
- Keep the untouched original beside the working copy, because some fixes are easier to redo from scratch.
Avoid aggressive noise reduction and heavy sharpening before cutting. Both smear or halo the boundary, and a halo is exactly what the next stage is looking for.
Stage 2: Run one standard pass, then compare
Upload-first tools do not need a prompt: you hand over an image and get a cutout back. KOOX AI Background Remover works this way and offers two models. The standard model produces fast cutouts for portraits, product shots and logos, and the Pro model is aimed at fine hair, fur, semi-transparent materials and jewellery, where cleaner separation matters more than speed. Both export PNG, which is what you want for transparent results.
The workflow rule is to run the standard pass first, at full resolution, and keep it. Not because it always wins, but because it gives you a baseline to compare against. If the two-backdrop test in the next stage passes, you are finished in one pass. If it fails, run the same file through the Pro model and compare the two outputs side by side at the same zoom level. Two files judged against the same photo is a decision. One file judged against your memory of the original is a guess.
Do not downscale before cutting. Cut at the largest size you have and resize the finished cutout afterwards, because resampling after the matte is written is one soft operation instead of several.
Stage 3: Test the cutout on two backdrops before you judge it
The usual mistake is judging a cutout on the background it came from, or on white. White is forgiving: a light fringe disappears into it, and so does a missing shadow. Put the cutout on mid-grey and then on a dark backdrop, view it at 100% and again at 200%, and walk the outline rather than looking at the subject. Four failures show up quickly.
A light halo along the top edge means the edge pixels still carry the old background, which is common when the original had a bright wall or a blown-out window behind the subject. Chewed or missing thin parts, such as a handle, a strap, a chain or a few wisps of hair, mean the matte lost confidence exactly where the subject is narrowest. A shadow still attached under the subject looks like a grey smudge once the background is gone and the subject appears to float. A rectangular or gradient patch inside the subject, most common with glass, bottles and mesh, means the tool treated a see-through area as background.
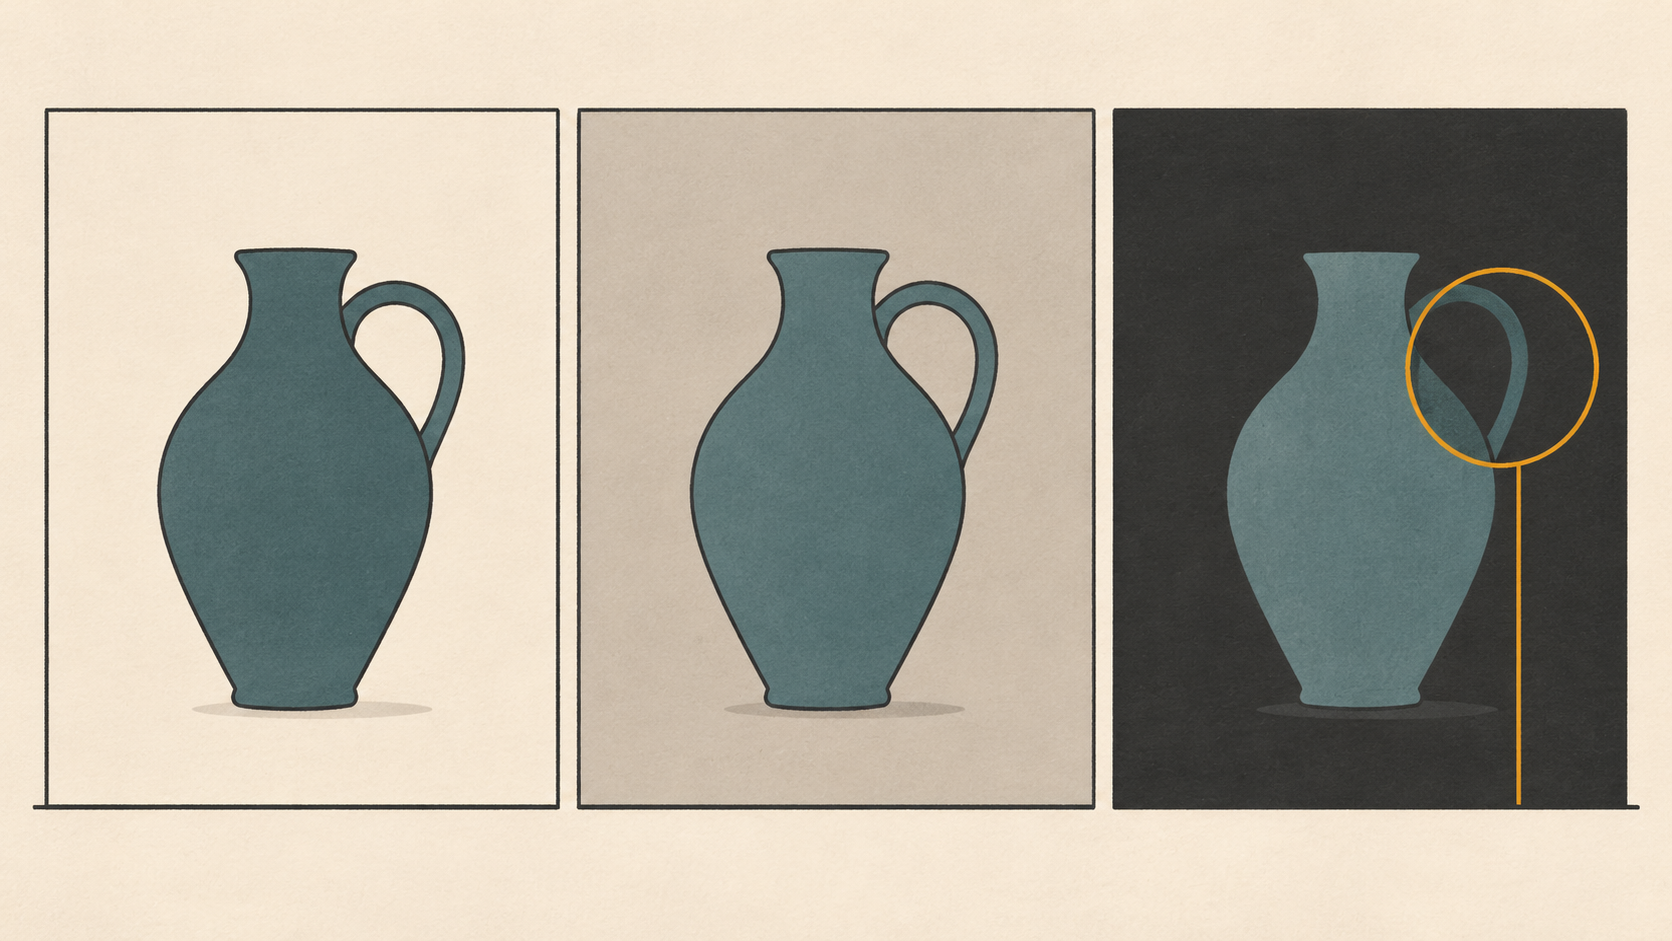
Then do one last check on the destination itself. A cutout that passes on grey can still fail on a saturated brand colour, because edge pixels that survived neutral backdrops will show colour spill against red or blue.
Stage 4: Fix only what the test exposed
Fix in this order, and stop as soon as the failure is gone.
- Re-run the same photo through the Pro model. Fine edges are what it is for, and it costs one upload.
- Crop tighter and re-run. A small subject in a large frame spends resolution on empty background, and the outline is where that resolution matters.
- Composite a deliberate shadow instead of chasing the original one. A soft ellipse under the subject is usually better than a rescued smudge.
- Change the photo. A reshoot with better clearance beats a fifth attempt.
Transparent subjects need a different expectation. Glass, mesh and smoke have graduated alpha, and forcing them into a hard cut destroys the evidence that they are transparent. For those, keep the cutout for the parts that are solid and composite the piece onto the new background rather than replacing everything at once.
Set a stop rule before you start: if the same edge fails twice on the same photo, the file does not contain the separation you want, and another run will not add it. Always start a new attempt from the original, never from the previous cutout, because repeated saves soften the edge and stack one fringe on top of another.
Stage 5: Deliver a file the destination accepts
Transparency is the point of the PNG. The format carries an optional alpha channel and stores pixels losslessly, which is why it is the recommended choice when transparency is needed (MDN), and the specification defines how that alpha is stored and interpreted (W3C). JPEG has no alpha at all: saving a cutout as JPEG silently fills the empty area, usually with white.
Marketplaces add their own requirements on top. Google's product image specification asks for at least 500 by 500 pixels, recommends around 1500 by 1500 for the best performance across listing formats, accepts JPEG, WebP, PNG, GIF, BMP and TIFF, caps files at 16MB and 64 megapixels, and warns that a file extension which does not match the real format triggers an unsupported-image error (Google Merchant Center). Renaming a PNG to .jpg to satisfy a picky upload form is therefore a bad trade: re-encode it properly instead.
The practical routine is to keep one master transparent PNG, export per-destination copies from it, and only flatten to white or to a brand colour when the destination demands an opaque file.
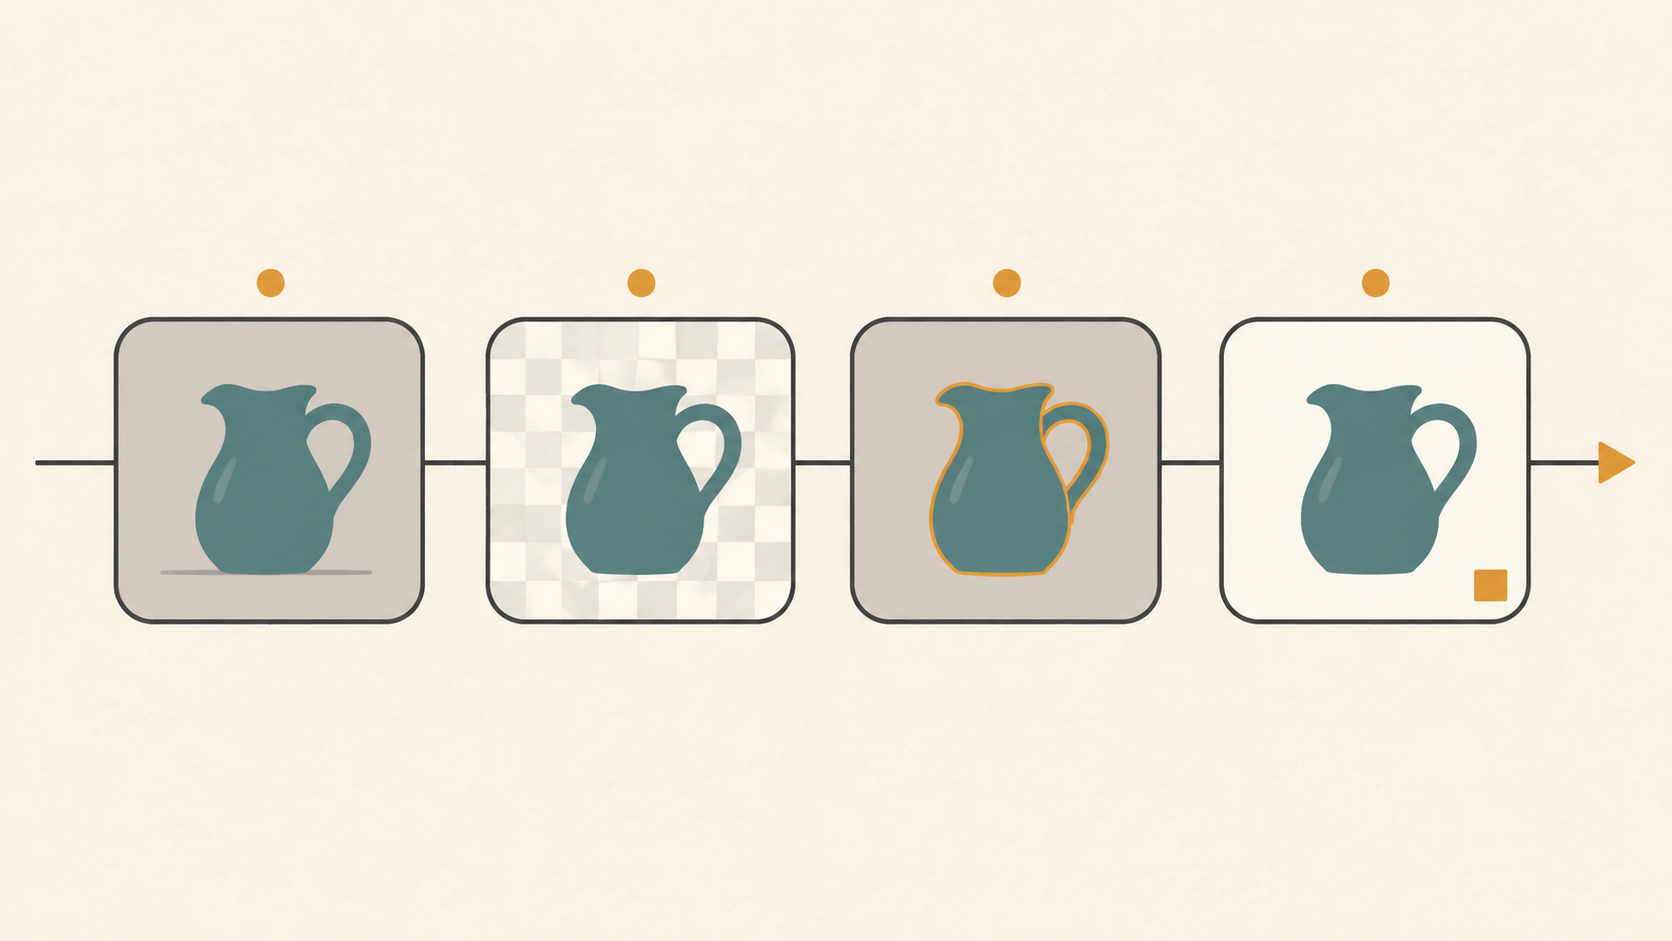
If the final use is a marketplace listing that expects a white background, composite the cutout onto pure white, check that the edge does not pick up a grey rim, and save that copy as JPEG. When the same product appears in a set of listings, this is also the point to reuse one cleanup routine across the whole set rather than fixing each photo differently, as in this marketplace-ready cleanup workflow.
A ten-minute checklist before you call it done
- The cutout was judged on mid-grey and on a dark backdrop, not only on white.
- No light halo along the edge that meets the brightest part of the original background.
- Handles, straps, chains and hair wisps are intact at 200%.
- Any shadow under the subject is deliberate, not a leftover smudge.
- Thin or transparent parts keep graduated edges instead of a hard matte.
- The delivered file is PNG with alpha, or a properly composited opaque copy.
- Dimensions and file size meet the destination's stated minimum.
- The transparent master is stored next to the exports, not overwritten by them.
If you want a second opinion on the edge work itself, the edge-check routine goes deeper on what to look for along an outline. But the sequence above is the part that keeps a batch of photos consistent: prepare, cut once, test twice, fix minimally, deliver to spec.